1
K066
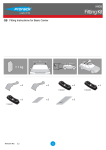
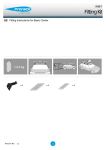
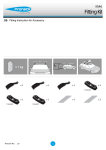
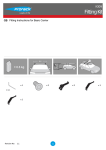
Fitting Kit
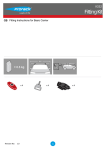
GB Fitting Instructions for Basic Carrier
x4
Revision No:
1.0
x4
1
GB
Fitting Kit
K066
First Time Installation
Remove parts from packaging and check
contents. Contact your Prorack dealer if parts
are missing or damaged.
This kit fits type A, B and C.
These instructions show type A crossbar
fitted. They also apply to type B and C.
NOTE: Clamp images in these instructions may
not be representative of the clamps in this kit
3
GB
Fitting Kit
K066
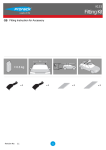
Use keys to remove covers.
Use hex screwdriver to reverse adjusting
screw 10 turns.
Press adjusting screw and pull crossbar legs
out. Refer to the crossbar instructions for
crossbar adjustment.
Ensure each end of the crossbar is adjusted
equally 'X'.
4
GB
Fitting Kit
K066
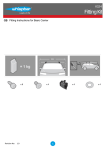
Remove locking screw.
Attach clamp to each leg. NOTE; clamps
may have labels showing their positions on
the vehicle (For example; "Front Right").
Refit locking screw so that it goes through
the hole in the clamp. Do not begin to tighten
the locking screw.
5
GB
Fitting Kit
K066
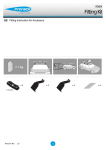
Fit rubber pad (supplied with crossbar) to
foot.
Make sure the pad fits into the holes
underneath the foot.
Fitment
Place crossbar on vehicle. Minimum
recommended spacing between the bars is
700mm (unless otherwise stated).
Please check the rear of this manual for
information relating specifically to your
vehicle.
6
GB
Fitting Kit
K066
Adjust the legs on the crossbar so that they
are positioned equally from the ends of the
crossbar, and the clamps engage firmly on
the body work of the vehicle.
Clamps over rubber door frame mouldings.
Tighten adjusting screw to 5 Nm.
Tighten locking screw on both legs evenly.
7
GB
Fitting Kit
K066
Check crossbar is securely attached to the
vehicle.
Use keys to fit and lock covers
CAUTION: Regularly check screws are tight
8