1
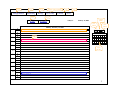
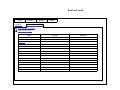
appointments and meetings are displayed in the table as blocks that occupy the first half
hour time range of those events. They are clickable for viewing details or for
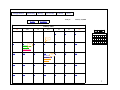
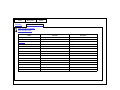
modification. The month layout displays the appointments and meetings of a whole
month, each day occupies a table cell, as shown in Appendix p.3. Clicking on the date
link in a cell will open the day layout calendar of that correspondent day. The
appointments and meetings are listed in the table cells as links. Clicking on a link will
open it for viewing and editing.
Management of Proxies
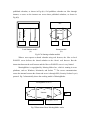
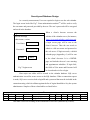
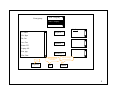
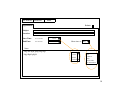
A user can let other users to access his or her own calendar by assigning proxy
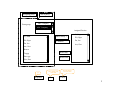
privilege to them, as shown in the region framed by solid lines in Appendix p.2. Firstly,
highlight the person you want to assign proxy in the ListBox. Secondly, click on the ‘Add
to Proxy ->’ button to add the person to the ‘Assigned Proxies’ ListBox. By default, the
assigned proxy is read only, i.e., that person can view your calendar, but cannot modify it.
You can change it to ‘Read and Write’ by clicking on the Read/Write button. The
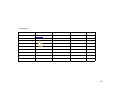
‘Properties’ button will open the contact information page of the chosen person, as shown
in Appendix p.9, which provides some identity information of other persons to the user.
A user can display and/or modify other person’s calendar if he or she has the permission.
It’s illustrated in the region framed by the dash lines in Appendix p.2.
Scheduling Appointments and Meetings
The UIs to schedule appointment and meeting look similar. The difference is that
an appointment will not involve other persons, so it doesn’t have the tab of Attendee
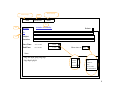
Availability and the To field. The meeting scheduling page is illustrated in Appendix p.4,
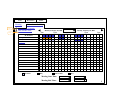
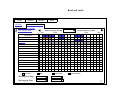
there are two tabs in the tab strip: Meeting tab and Attendee availability tab. The Meeting
tab shows this page (Appendix p.4) and the Attendee availability tab shows another page
(Appendix p.6). If the ‘Private’ check box is checked in the page of Meeting tab, this
piece of appointment or meeting cannot be seen by others. By clicking on the To link, the
contact page will be opened for the meeting scheduler to invite attendees and reserve
resources, as shown in Appendix p.8. An attendee can be marked either as required
person or as optional person. The subject and location are not required for the program
but are necessary for the user; otherwise, the invited attendees will not know what the