1
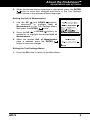
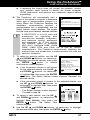
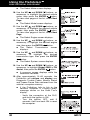
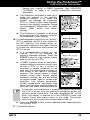
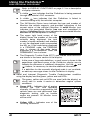
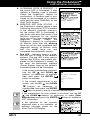
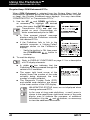
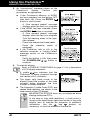
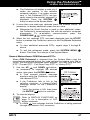
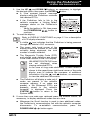
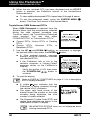
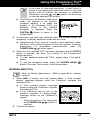
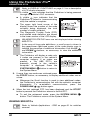
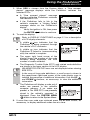
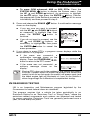
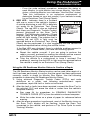
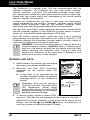
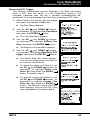
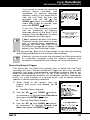
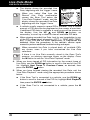
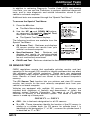
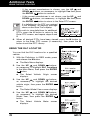
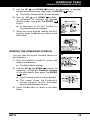
Live Data Mode LIVE DATA PLAYBACK All three LEDs will blink for three seconds to indicate that Live Data is being recorded, and a "One moment please. . ." message shows on the display, along with the number of the frame being recorded. When recording is complete, a confirmation screen displays, asking if you would like to view the recorded data. Use the UP and DOWN buttons, as necessary, to select Yes or No, as desired, then press the ENTER button. If Yes is selected, the Scan Tool enters "Playback" mode from which you can view a frame-by-frame playback of recorded Live Data (see LIVE DATA PLAYBACK on page 69 for details). If No is selected, the display returns to the "Live Data View" mode. 10. You can exit the "Record Live Data Mode" at any time by pressing and holding the M button until the Main Menu displays. If desired, you can transfer the recorded Live Data information to a personal computer using the optional software (see instructions included with the software for more information). LIVE DATA PLAYBACK Once Live Data has been recorded, it is saved in the Scan Tool’s memory. You can view recorded Live Data immediately after recording by selecting Yes from the Record Live Data confirmation screen (see RECORDING (CAPTURING) LIVE DATA on page 64 for more information), or you can view it later using the "Playback" function. 1. Press and release the M button. The Main Menu displays. and DOWN buttons, 2. Use the UP as necessary, to highlight Live Data Menu, button. then press the ENTER The Live Data Menu displays. 3. Use the UP and DOWN buttons, as necessary, to highlight Playback Live Data, then press the ENTER button. MD70 69