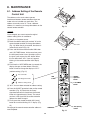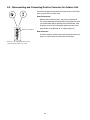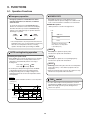
1
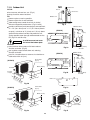
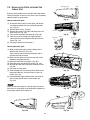
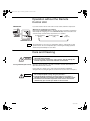
Air intake grille
7-5. Remove the Grille to Install the
Indoor Unit
Grille
Basically, these models can be installed and wired without
removing the grille. If access to any internal part is needed,
follow the steps as given below.
Fig. 9a
How to remove the grille
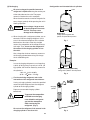
(1) Grasp both ends of the air intake grille, and remove
it by opening towards the front and pulling towards
you. (Fig. 9a)
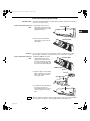
(2) Remove the 3 screws. (Fig. 9b)
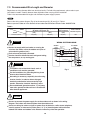
(3) Remove the screw on the right side cover plate and
open the cover. (Fig. 10a)
(4) Take out the thermistor from the grille. (Fig. 10b)
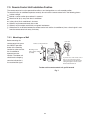
(5) Press the 3 tabs at the top of the grille and the 3
tabs on the front face to separate the grille from the
frame. (Fig. 11a)
(6) Pull the grill toward you to remove it.
Fig. 9b
Cover
Thermistor
Thermistor
How to replace the grille
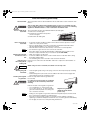
(1) When installing the grille, place the bottom of the
grille into the frame first. (Fig. 11b)
Then insert the tabs on the top of the grille and on
the front face into the frame.
(2) Make sure that the grille and frame are firmly fitted
together by engaging the tabs.
(3) Attach the thermistor on the grille. (Fig. 10a)
(4) Close the cover and replace the screw. (Fig. 10a)
(5) Affix the grille with the 3 previously removed screws.
(Fig. 9b)
(6) Install the air intake grille.
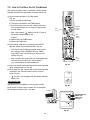
(a) Allow the edge of the air intake grille to slide into the
top of the indoor unit, and then insert it all the way
inside. (Fig. 12a)
(b) Press the bottom right and left corners and center of
the air intake grille to attach it to the indoor unit.
(Fig. 12b)
Fig. 10b
Fig. 10a
Tab
Tab
Fig. 11a
NOTE
Attach so that the round pins at the top right and left corners of the air intake grille are inserted into the grooves at
the top right and left of the indoor unit.
Fig. 11b
Pin
Fig. 12a
Fig. 12b
33
Groove