1
MAINTENANCE
BELT ADJUSTMENT AND REPLACEMENT
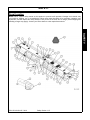
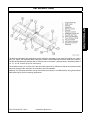
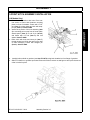
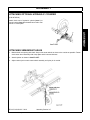
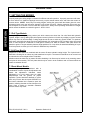
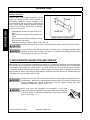
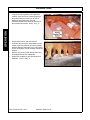
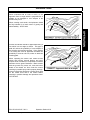
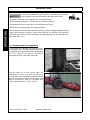
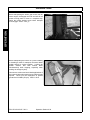
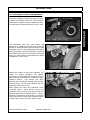
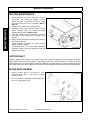
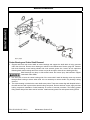
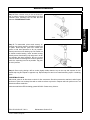
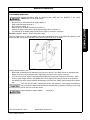
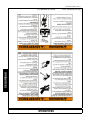
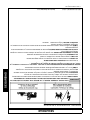
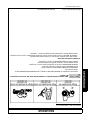
2. To replace belt, loosen both pivot bolts (Item 1),
undo nuts from tension rod (Item 2) and rotate
drive tube assembly toward deck. Install new
banded belt and rotate drive assembly forward by
placing pry-bar in tube on front of assembly. Feed
tension rod through slot as the tube is rotated
forward and attach washer and adjustment nut.
Before tensioning belt lightly tighten pivot bolts to
remove play from pivot points. Tension belt as
outlined above. Always check belt alignment after
installing new belt.
PULLEY ALIGNMENT AND REMOVAL
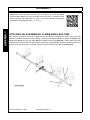
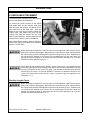
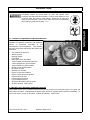
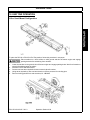
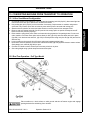
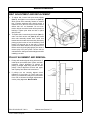
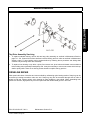
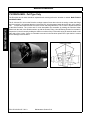
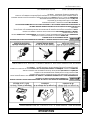
1. Pulleys will remain aligned during belt tension if
inside pivot mount bolts (item 3) have not been
loosened. Check alignment of pulleys by
placing a straight edge along flat face of both
pulleys. Check alignment at lower and upper
end of pulley face when belt is tensioned.
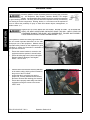
2. If pulleys are not correctly aligned check
tightness of pivot bolts (3). Drive tube inner
mount (4) is slotted and may be moved toward
front, rear or shimmed for height adjustment to
correct pulley alignment. Mnt-FL-0039.
RC115/118/120/125 03/13
© 2013 Alamo Group Inc.
Maintenance Section 5-7
MAINTENANCE
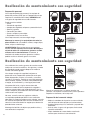
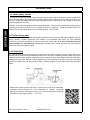
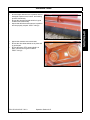
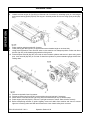
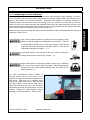
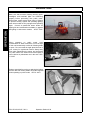
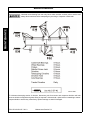
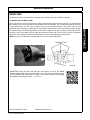
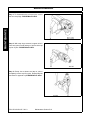
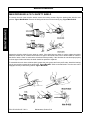
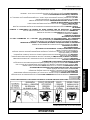
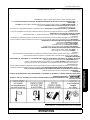
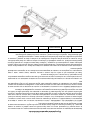
1. To adjust belt, loosen both pivot bolts slightly
(Item 1), and tighten nut on tension rod (Item 2),
which pivots drive assembly forward to tension
belt. Correctly tensioned belt should require a
maximum of 85 lbs force across entire band to
deflect belt 3/8” as illustrated. Do not overtension belt as excessive loads will be placed on
bearings. Tighten pivot bolts and lock in place
with jam nuts.