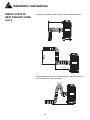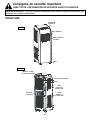
1
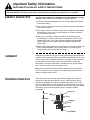
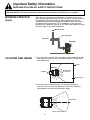
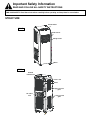
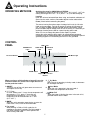
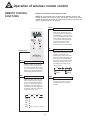
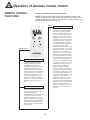
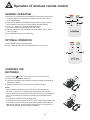
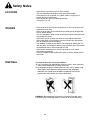
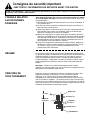
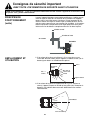
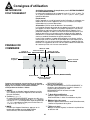
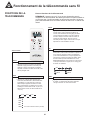
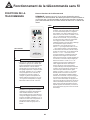
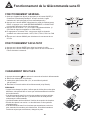
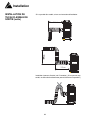
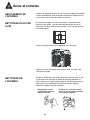
Operation of wireless remote control
GENERAL OPERATION
1. After the unit is powered on (press ON/OFF button) the unit will start to
run.(Note: When it is powered off, the guide louver of main unit will
close automatically.)
2. Press MODE button, select desired running mode, or press COOL or
HEAT mode to enter into their corresponding operation directly.
3. Press + or - buttons, to set the desired temperature.
(It is unnecessary to set the temp. at AUTO mode.)
4. Pressing FAN button, set fan speed, can select AUTO, FAN 1, FAN 2,
FAN 3 or FAN 4.
5. Press SWING button to select the swing.
OPTIONAL OPERATION
1. Press SLEEP button to set sleep timer.
2. Press TIMER button to set the scheduled timer on or timer off.
CHANGING THE
BATTERIES
1. Press slightly
to take off the back cover of the remote control.
2. Take out the old batteries as shown.
3. Insert two new AAA1.5V dry batteries, and pay attention to the polarity.
(As shown in figure)
4. Attach the back cover of remote control. (As show in figure)
NOTE:
• When changing the batteries do not use old or different batteries,
otherwise, it can cause a malfunction to the wireless remote control.
• If the wireless remote control will not be used for a long time, please take
them out, and don't let the leaking liquid damage the wireless remote
control.
• The operation should be in its receiving range.
• It should be placed 1m away from the TV set or stereo sound system sets.
• If the wireless remote control can not operate normally, please take the
batteries out and wait 30 seconds then reinsert them. If the remote still
cant function properly please change the batteries.
e
11