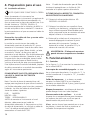
1
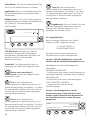
“NO” option to set up a new method and
proceed to step 3.
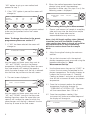
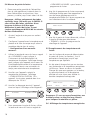
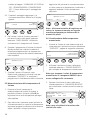
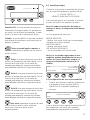
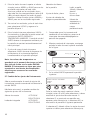
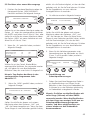
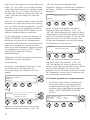
2. If the “YES” option is pressed the screen will
change to:
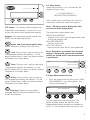
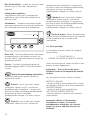
09:00
SELECT PROGRAM
PLATEAU
100
150
RAMP RATE
1.0
2.0
EXIT
^
^
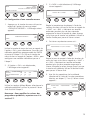
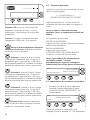
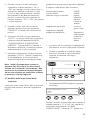
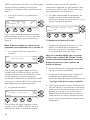
3. If “NO” has been selected the screen will
change to:
50.0°C
UP
DOWN
NEXT
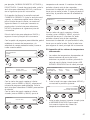
Use the upper and lower menu keys next to
“UP” and “DOWN” to adjust the plateau
temperature. Holding these keys down for more
than two seconds will increase the speed at
which the value changes until the key is released.
Use the Enter key to move to the next screen.
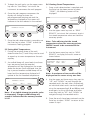
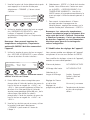
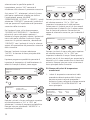
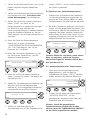
RAMP
1.0°C/min CHANGE?
50.0°C
UP
DOWN
NEXT
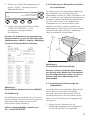
Use the upper and lower menu keys next to
“UP” and “DOWN” to adjust the ramp rate.
Holding these keys down for more than two
seconds will increase the speed at which the
value changes until the key is released. Use the
Enter key to move to the final screen.
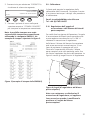
1.0°C/min
START
Note:- Only full length capillary tubes (100mm)
should be used with the SMP30. If capillary
tubes smaller than 60mm in length are used for
melt determinations it may be extremely
difficult to retrieve them from the sample
block.
2.
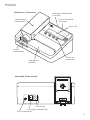
Adjust the angle of viewing for maximum
comfort.
3.
Set up the instrument with the required
plateau temperature and ramp rate using the
procedure described in “New
Measurement Set-Up”.
4.
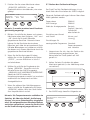
Use the lower menu key next to “START” to
instruct the instrument to heat/cool to the
plateau temperature. The display changes to
indicate that the instrument is “Heating/
Cooling to plateau” and gives an estimated
time for the instrument to reach the plateau
temperature.
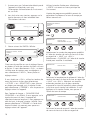
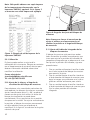
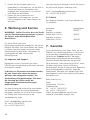
4.1 Once the instrument reaches the plateau
temperature the display changes to
“STABILISING AT PLATEAU 120“. The timer
will then countdown from 120 to 0.
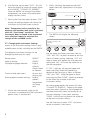
4.2 Once the countdown reaches 0 the
instrument will make an audible bleep and
the display will change to:
09:00
AT PLATEAU
EXIT
4
RAMP
5.4 Performing Melting Point Measurement
1. Place a small amount of sample in a capillary
tube and insert into the aluminium sample
block. Up to three tubes can be
accommodated at any one time.
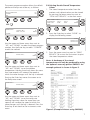
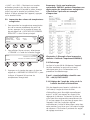
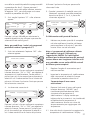
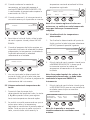
4. The next screen displayed is:
09:00
50.0°C
PLATEAU 100°C
READY?
EXIT
Note:- To change the values in the preset
programmes please see section 5.7
PLATEAU 100°C CHANGE?
09:00
50.0°C
200
5.0
^
Use the I II or III keys to select the preset method
to be used and proceed to the final screen
shown in 5.
09:00
5. When the method parameters have been
selected using one of the procedures
described in either step 2 or steps 3 to 4, the
following screen is displayed:
100.0°C
START RAMP