1
Installation
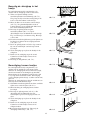
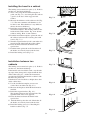
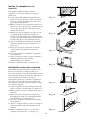
Mounting accessories included
1
2
1
1
4
Allen spanner.
Fixing brackets.
Bracket to use for the perforation.
Non-return fumes valve.
Screws of 3.5 x 13 (to fix the brackets to the
wall unit).
2 Screws of 3.9 x 6.5 (to block the hood to the
brackets).
2 2,9 x 6,5 screws (for fixing the spacer)
1 Spacer
Attention! In the absence of wall units in which to
install this hood, a flue Kit can be purchased as an
optional accessory (see “special accessories”
paragraph).
The use of this flue kit envisages installing the hood
directly onto the wall.
Read the instructions booklet supplied with the flue
kit carefully before proceeding to install the hood
and the flue.
X
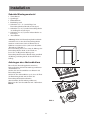
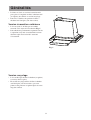
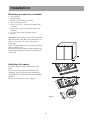
Installing the spacer
Install the supplied spacer before installing the
hood.
Insert the spacer into the hood from the back.
Adjust the spacer so that the depth of the hood
corresponds to the depth of the wall unit (including
the door).
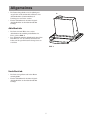
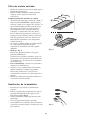
Fix the spacer with two screws. Fig. 6.
X
Fig. 6
51