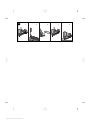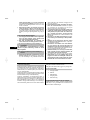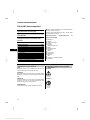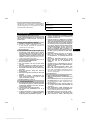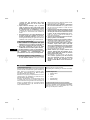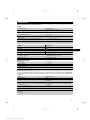
1
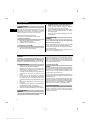
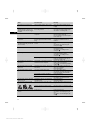
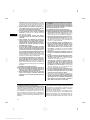
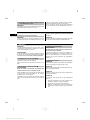
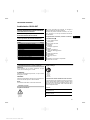
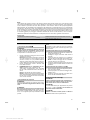
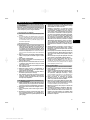
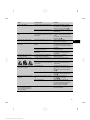
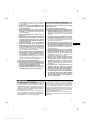
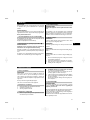
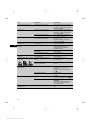
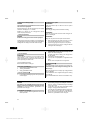
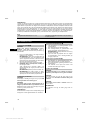
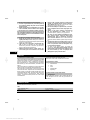
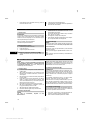
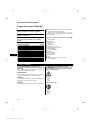
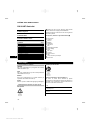
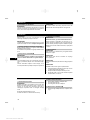
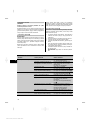
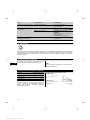
7.3 Unintentional firing safety device
WARNING
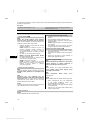
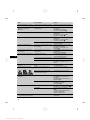
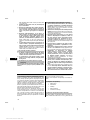
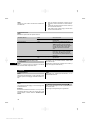
Do not use the tool if the sliding sleeve has been
removed.
en
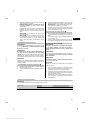
The tool is equipped with a safety device to prevent it from
being triggered accidentally. The sliding sleeve prevents
the nosepiece from being pushed back deliberately or
unknowingly. This prevents accidental releases.
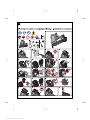
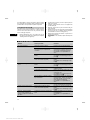
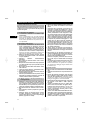
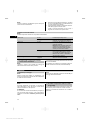
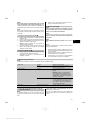
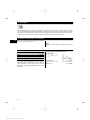
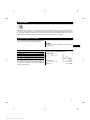
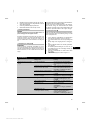
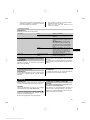
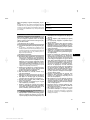
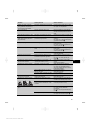
7.4 Driving nails
NOTE
You can drive nails only if there are more than 5 nails in
the magazine.
NOTE
Hold the tool securely. Avoid resilient materials.
NOTE
Pull the trigger only after the tool has been fully pressed
against the working surface.
NOTE
Do not release the trigger until the nail is driven fully.
1.
2.
3.
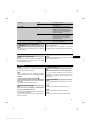
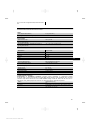
Position the nosepiece on the working surface and
press the tool against the surface until the nosepiece
is fully compressed.
Drive the fastener by pulling the trigger.
Once the nail has been driven, release the trigger
and lift the tool completely away from the working
surface.
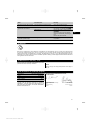
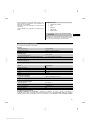
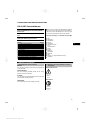
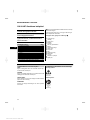
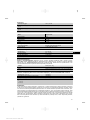
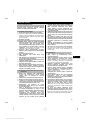
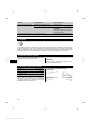
8 Unloading the tool
2.
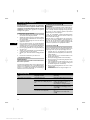
8.1 Removing the battery
NOTE
Store the battery in a cool and dry place. Never store the
battery where it is exposed to direct sunlight or sources of
heat, e.g. on heaters / radiators or behind glass. Batteries
that have reached the end of their life must be disposed
of safely and correctly to avoid environmental pollution.
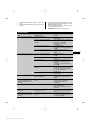
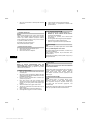
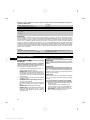
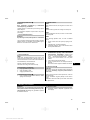
Press both battery release buttons.
Pull the battery downwards out of the power tool.
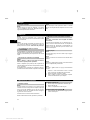
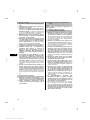
8.2 Removing the gas can
1.
2.
3.
Open the cover of the gas can compartment.
Remove the gas can.
Close the cover of the gas can compartment.
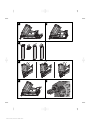
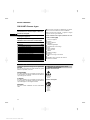
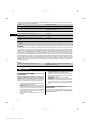
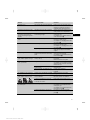
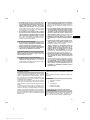
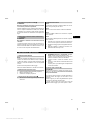
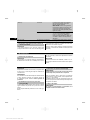
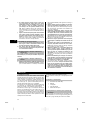
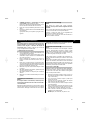
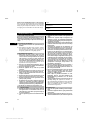
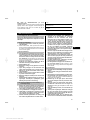
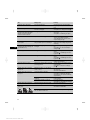
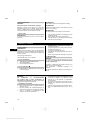
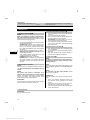
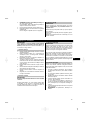
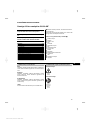
8.3 Unloading nail strips 9
1.
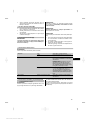
Release the catch on the nail pusher by pressing the
black button.
3.
4.
CAUTION Move the nail pusher with care. There
is a risk of your fingers being trapped.
Allow the pusher to slowly slide back towards the
nosepiece until it stops.
Allow the nails in the magazine to slide downwards.
Press the internal pawl on the bottom end of the
magazine.
You can now completely remove the nails from the
magazine.
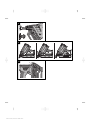
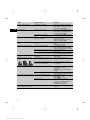
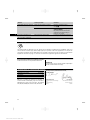
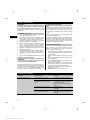
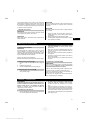
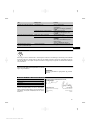
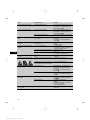
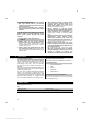
8.4 Tool hook 10
WARNING
A falling tool can endanger you and/or other persons.
Make sure that the tool is firmly secured when hung
up.
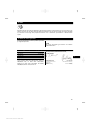
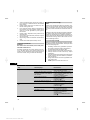
You can use the tool hook to attach the tool to your belt,
a ladder, or a roof batten.
Press the belt hook towards the tool in the direction of
the longitudinal axis of the magazine.
This releases the belt hook from its locked position and
it can then be pivoted in or out.
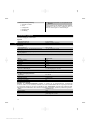
9 Care and maintenance
WARNING
The tool must be unloaded (gas can and fasteners
removed from the tool) before carrying out cleaning
or maintenance. Completely remove the battery, gas
can and nail strip from the tool.
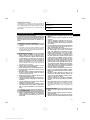
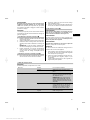
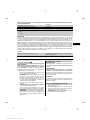
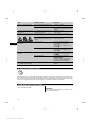
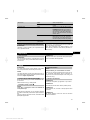
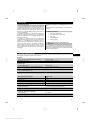
9.1 Care of the tool
1.
2.
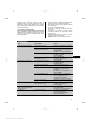
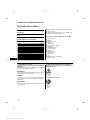
Clean the outside of the tool at regular intervals with
a slightly damp cloth.
Never operate the tool when the ventilation slots are
blocked. Clean the ventilation slots carefully using a
dry brush.
18
Printed: 07.05.2015 | Doc-Nr: PUB / 5069897 / 000 / 04
3.
4.
5.
6.
7.
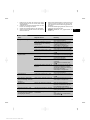
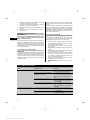
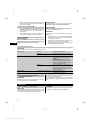
Do not allow moisture or foreign bodies to enter
inside the tool or battery.
Remove the tool from its toolbox and allow it to
dry out if moisture has entered the tool. To do this,
remove the battery and keep the gas can compartment cover at the rear in the open position.
Always keep the grip surfaces of the tool free from
oil and grease.
Do not use a spray, steam pressure cleaning equipment or running water for cleaning.
Do not use cleaning agents which contain silicone.