1
FUNCTIONAL DESCRIPTION
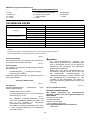
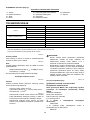
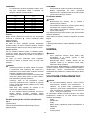
Switch action
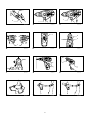
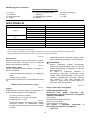
Fig.2
•
CAUTION:
Always be sure that the tool is switched off and the
battery cartridge is removed before adjusting or
checking function on the tool.
CAUTION:
Before inserting the battery cartridge into the tool,
always check to see that the switch trigger
actuates properly and returns to the "OFF"
position when released.
To start the tool, simply pull the switch trigger. Tool
speed is increased by increasing pressure on the switch
trigger. Release the switch trigger to stop.
•
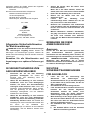
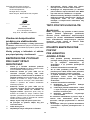
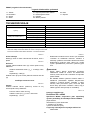
Installing or removing battery cartridge
Fig.1
CAUTION:
Always switch off the tool before installing or
removing of the battery cartridge.
•
Hold the tool and the battery cartridge firmly
when installing or removing battery cartridge.
Failure to hold the tool and the battery cartridge
firmly may cause them to slip off your hands and
result in damage to the tool and battery cartridge
and a personal injury.
To remove the battery cartridge, withdraw it from the
tool while pressing the buttons on both sides of the
cartridge.
To install the battery cartridge, hold it so that the battery
cartridge front shape fits to that of the battery
installment opening and slip it into place. Insert it all the
way until it locks in place with a little click.
•
•
•
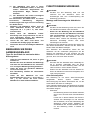
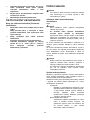
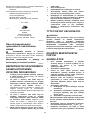
Turning on the front lamp
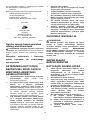
Fig.3
CAUTION:
Do not look in the light or see the source of the
light directly.
Pull the switch trigger to turn on the light. The lamp
keeps on lighting while the switch trigger is being pulled.
The lamp turns off 10 -15 seconds after releasing the
trigger.
•
NOTE:
•
Use a dry cloth to wipe the dirt off the lens of lamp.
Be careful not to scratch the lens of lamp, or it
may lower the illumination.
Reversing switch action
CAUTION:
Always insert the battery cartridge all the way until
it locks in place. If not, it may accidentally fall out
of the tool, causing injury to you or someone
around you.
Do not install the battery cartridge forcibly. If the
cartridge does not slide in easily, it is not being
inserted correctly.
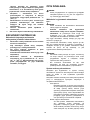
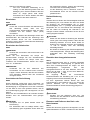
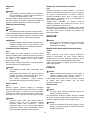
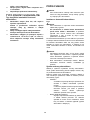
Fig.4
This tool has a reversing switch to change the direction
of rotation. Depress the reversing switch lever from the
A side for clockwise rotation or from the B side for
counterclockwise rotation.
When the reversing switch lever is in the neutral
position, the switch trigger cannot be pulled.
Battery protection system
The tool is equipped with a battery protection system.
This system automatically cuts off power to the motor to
extend battery life.
The tool will automatically stop during operation if the
tool and/or battery are placed under one of the following
conditions:
•
Overloaded:
The tool is operated in a manner that causes
it to draw an abnormally high current.
In this situation, release the switch trigger on
the tool and stop the application that caused
the tool to become overloaded. Then pull the
switch trigger again to restart.
•
Low battery voltage:
The remaining battery capacity is too low
and the tool will not operate. If you pull the
switch trigger, the motor runs again but stops
soon. In this situation, remove and recharge
the battery.
•
•
•
CAUTION:
Always check the direction of rotation before
operation.
Use the reversing switch only after the tool comes
to a complete stop. Changing the direction of
rotation before the tool stops may damage the tool.
When not operating the tool, always set the
reversing switch lever to the neutral position.
Speed change
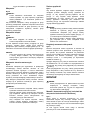
Fig.5
To change the speed, first switch off the tool and then
slide the speed change lever to the "2" side for high
speed or "1" side for low speed. Be sure that the speed
change lever is set to the correct position before
operation. Use the right speed for your job.
•
5
CAUTION:
Always set the speed change lever fully to the
correct position. If you operate the tool with the
speed change lever positioned halfway between the
"1" side and "2" side, the tool may be damaged.