1
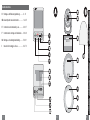
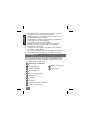
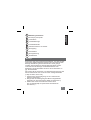
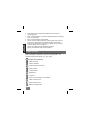
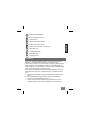
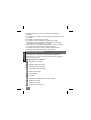
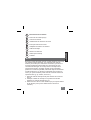
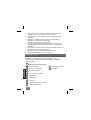
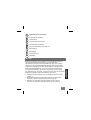
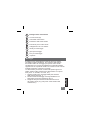
Figure of the camera
12
1
Infrared (IR) light source
13
1
Camera lens
1
14
Channel selection display
15
1
Channel selection switch
1
16
Power unit connection 12V 400mA
1
17
Mounting ring
1
18
Engagement hook
1
19
Mounting hole
1
20
Covering hood
ENGLISH
B
Assembly
Look for a suitable installation place, from where the desired
object can be monitored. A reduction of range owing to
construction restrictions can frequently be strongly influenced by
slight variation of the installation position. Avoid installation on
metal surfaces or on reinforced concrete. These materials shield
radio waves and hence reduce the range.
The camera is suitable for ceiling and wall installation. You can
also place the camera on a solid surface (e.g. cupboard, table
etc.).
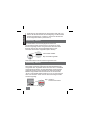
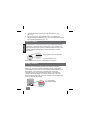
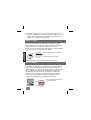
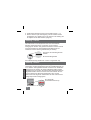
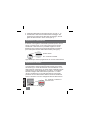
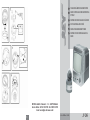
1. Remove the installation ring from the bottom of the camera
(Pic. 1)
2. Fix the installation ring by means of the accompanying
screws on the desired position (Pic. 2).
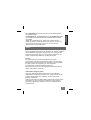
3. Select one of the four channels (15) at the bottom of the
camera (see the item "channel selection on the camera").
18