1
EN
2 / INSTALLING YOUR APPLIANCE
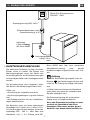
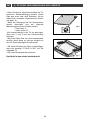
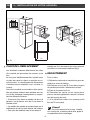
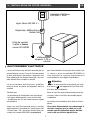
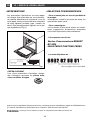
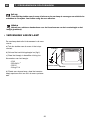
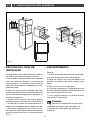
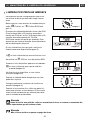
560
550
585
592
70
550
Fig. 01
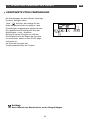
provided for this purpose on either side of the
front side panels (fig.1).
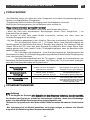
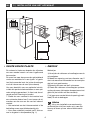
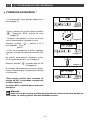
• CHOICE OF LOCATION
The diagrams above indicate the dimensions
of a cabinet that would be acceptable for your
oven.
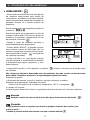
The oven can be installed under a work top or
in a column of cabinetry (open* or closed)
having the appropriate dimensions for built-in
installation (see adjacent diagram).
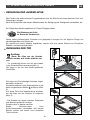
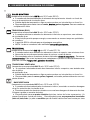
• BUILD-IN
To do this:
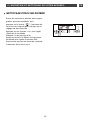
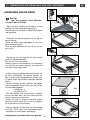
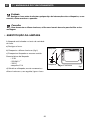
1) Remove the rubber screw covers to access
the mounting holes.
2) Drill a Ø 2 mm hole in the cabinet panel to
avoid splitting the wood.
3) Attach the oven with the two screws.
4) Replace the rubber screw covers (they also
serve to absorb the shock caused by closing
the oven door).
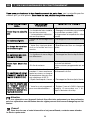
Your oven has optimised air circulation that
allows it to achieve remarkable cooking and
cleaning results if the following guidelines are
respected:
• Centre the oven in the cabinet so as to
guarantee a minimum distance of 5 mm between the appliance and the neighbouring
cabinet.
• The destination cabinet must be made of or
coated with a material that is heat resistant.
• For greater stability, attach the oven in the
cabinet with two screws through the holes
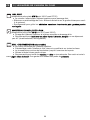
(*) If the cabinet is open, its opening must be
70 mm (maximum).
Tip
To be certain that you have properly
installed your appliance, do not hesitate to
call on a household appliance specialist.
6