1
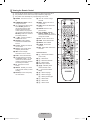
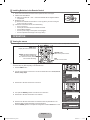
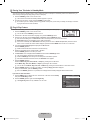
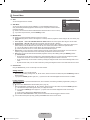
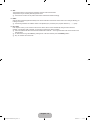
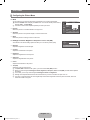
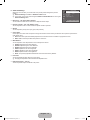
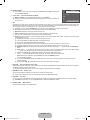
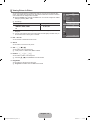
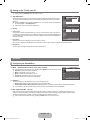
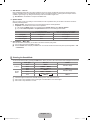
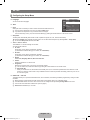
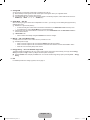
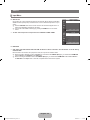
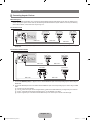
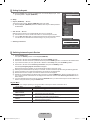
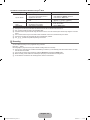
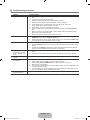
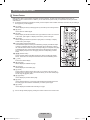
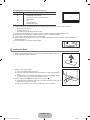
¦ Installing Batteries in the Remote Control 1. Lift the cover at the back of the remote control upward as shown in the figure. 2. Install two AAA size batteries. N Make sure to match the ‘+’ and ‘–’ ends of the batteries with the diagram inside the compartment. 3. Replace the cover. N Remove the batteries and store them in a cool, dry place if you won’t be using the remote control for a long time. N If the remote control doesn’t work, check the following: • Is the TV power on? • Are the plus and minus ends of the batteries reversed? • Are the batteries drained? • Is there a power outage or is the power cord unplugged? • Is there a special fluorescent light or neon sign nearby? OPERATION OPERATION ¦ Viewing the menus Before using the TV, follow the steps below to learn how to navigate the menu in order to select and adjust different functions. MENU Button Display the main on-screen menu. RETURN Button Return to the previous menu. ENTERE / DIRECTION Buttons Move the cursor and select an item. Select the currently selected item. Confirm the setting. EXIT Exit the on-screen menu. ❑ Operation the OSD (On Screen Display) The access step may differ depending on the selected menu. I-II 1. Press the MENU button. 2. The main menu appears on the screen. The menu’s left side has icons : Picture, Sound, Channel, Setup, Input. TV Picture Mode : Dynamic Backlight10 Contrast100 Brightness45 Sharpness75 Colour55 Tint (G/R) G 50 R 50 Advanced Settings Picture Options Reset : OK U Move E Enter R Return I-II 3. Press the ▲ or ▼ button to select one of the icons. TV Picture Mode : Dynamic Backlight10 Contrast100 Brightness45 I-II Sharpness75 Colour55 Tint (G/R) G 50 R 50 Advanced Settings Picture Options Reset : OK 4. Then press the ENTERE button to access the icon’s sub-menu. 5. Press the ▲ or ▼ button to select the icon’s submenu. 6. Press the ◄ or ► button to decrease or increase the value of a particular item. The adjustment OSD may differ depending on the selected menu. 7. Press the ENTERE button to complete the configuration. Press the EXIT button to exit. U Move E Enter R Return ▲ Backlight ▼ U Move 10 L Adjust R Return Help icon English - [530]BN68-02396B-01Eng.indb 7 2009-08-31 �� 7:58:17