1
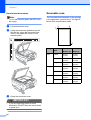
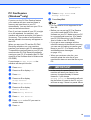
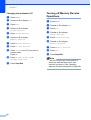
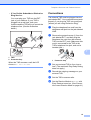
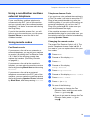
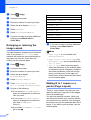
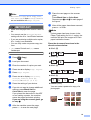
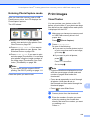
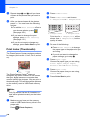
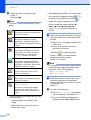
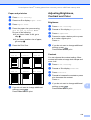
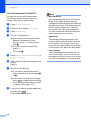
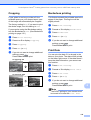
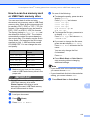
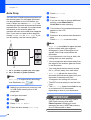
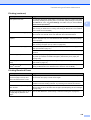
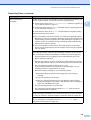
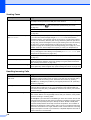
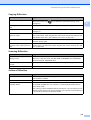
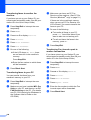
Chapter 13 e f b c Repeat steps c and d until you have chosen all the photos that you want to print. Press Index Print. Press Index Sheet and choose 6 Images/Line or 5 Images/Line. After you have chosen all the photos, press OK. You now have the following options: To add the Auto Correct effect to your chosen photos, press (See page 109.) . 6 Images/Line If you want to change the print settings, press Print Setting. (See page 112.) Print time for 5 Images/Line will be slower than 6 Images/Line, but the quality is better. If you do not want to change any settings, press Color Start to print. Print Index (Thumbnails) d The PhotoCapture Center® does not recognize any other numbers or file names that your digital camera or computer has used to identify the pictures. You can print a thumbnail page. This will show all the pictures on the memory card or USB Flash memory drive. Only file names that are 8 characters or less will be printed correctly on the index sheet. a Make sure you have put the memory card or USB Flash memory drive in the proper slot. Press 108 (Photo Capture). Do one of the following: Press Print Setting to change the paper type or the paper size you are using. 13 The PhotoCapture Center® assigns numbers for images (such as No.1, No.2, No.3, and so on). Note 5 Images/Line If you do not want to change the paper settings, go to step g. e Press Paper Type. Choose the paper type you are using, Plain Paper, Inkjet Paper, Brother BP71 or Other Glossy. f Press Paper Size. Choose the paper size you are using, Letter or A4. g Press Color Start to print.