1
INSTALLATION MANUAL
Page 9
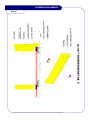
FASTENING METAL BATTENS
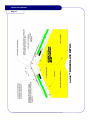
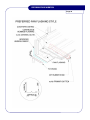
Battens are laid out against the set out lines and fastened with a nail gun (using an
appropriate length nail for the conditions) we recommend a minimum 2½” galvanized
ring shank nail gun nail (see earlier detail) driven through the battens and into the
rafters below.
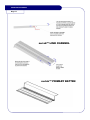
Battens can be cut with a hand held metal shears. (See Page 32) nu-lok™
recommends not using an electric disc to cut the battens as this may cause small
pieces of metal to be deposited on the roof surface and on metal components causing
them to deteriorate over time and cutting through the underlayment.
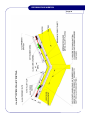
Fasten the battens through the flange and through the counter batten or shim into the
rafters below. Place a fastener above every rafter — we recommend a maximum 24”
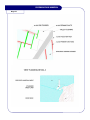
span between rafters. Ensure the battens align with the set out chalk lines at all times.
Keeping the battens straight and at equal centers. The last row of battens should be
placed to accommodate the ridge type being used. (See Pages 24, 27, 28 & 29)
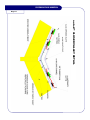
Note: Avoid having all the batten joints in a straight row – all the way up the roof.
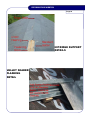
Note: Caution should be used over eaves and in exposed roof timber environments to
avoid the batten nails protruding and being visible below. Ensure each nail catches a
rafter below or is not too long as to protrude in exposed environments.
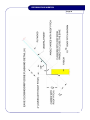
FASCIA BATTEN
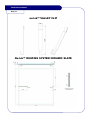
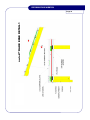
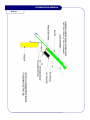
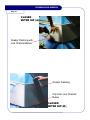
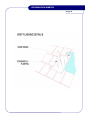
When all battening is finished fit the fascia batten. (See Page 18) To do this use the
link channel as a spacer. Lock the fascia batten into the link channel and place the link
channel into the first row of battens. This will determine the location of the fascia
channel. Then simply nail the fascia channel through into the roof using the same
fasteners ensuring the counter batten/shim is in place. (See Page 21)
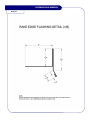
If no drip edge flashing is used you can paint the front edge of fascia batten (facing the
ground). This will act as a shadow line when viewed from the ground.
Complete all remaining battens.