1
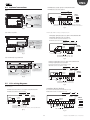
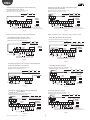
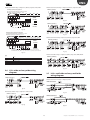
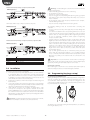
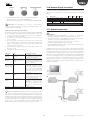
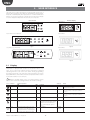
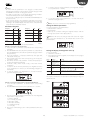
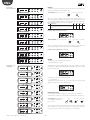
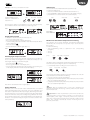
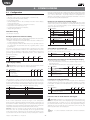
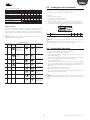
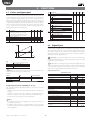
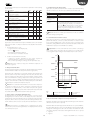
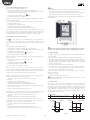
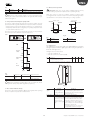
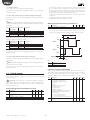
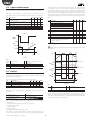
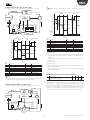
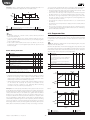
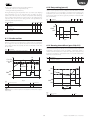
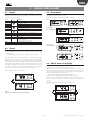
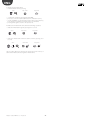
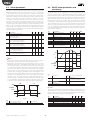
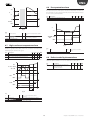
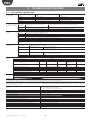
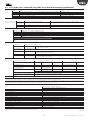
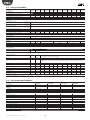
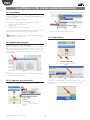
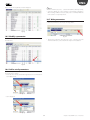
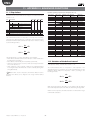
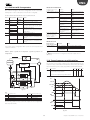
ENG Example: continuous cycle activation for ir33+ HACCP menu The controller must be fitted with the RTC (real time clock). To enter the HACCP menu: • press the combination/button shown the table below for 1 s; • press UP/DOWN to display the parameters in the HACCP category; • press PRG for 5 seconds to return to the standard display. DEACTIVATION: press the button or combination of buttons for 3 s: ir33+ ir33+ wide Easy wide ir33+ + ir33+ wide Easy wide + The message “cc” flashes on the display for 3 seconds, and subsequently the controller shows the end continuous cycle message, “ccE”. ir33+ ir33+ ir33+ wide / ir33+ small wide Display defrost probe To display the value measured by the defrost probe: • press Set and UP together for 3 s; • the code of parameter d/1 is displayed flashing; • continue holding the buttons until the value measured by the defrost probe is displayed; • release the buttons; • the standard display is shown again after 10 s. Minimum and maximum temperature monitoring The controller can record the minimum and maximum temperature measured by the control probe over a period of up to 999 hours (more than 41 days). To enable monitoring: • enter programming mode as explained in the corresponding paragraph; • set r5=1; • select rt; ir33+ ir33+ press: ir33+ wide Easy wide Auxiliary/light output activation Activation from the keypad: for automatic activation from scheduler see the second example in paragraph 3.5. To activate the auxiliary (H1 = 2) and/or light output (H1 = 3) from the keypad: DEF This displays how long minimum and maximum temperature monitoring has been active, (if recording has just been enabled, rt=0);; • press AUX and/or if present; • the message AUX flashes on the display for 1 s: • press and hold until activating the output and the corresponding icon • to restart temperature recording, press for more than 5 s: ir33+ on the display, which then shows the standard display. ir33+ wide Easy wide The message “rES” indicates that the log has been deleted. The controller resets the total hours and restarts monitoring; • press Set to return to the list of parameters; • to display the maximum temperature measured by the probe, read the value associated with parameter rH; • to display the minimum temperature measured by the probe, read the value associated with parameter rL. Auxiliary output active Light output active Press AUX to deactivate the AUX or light output. Note: after the maximum time of 999 hours, minimum and maximum temperature monitoring continues, while the time interval remains fixed at 999. Probe calibration Parameters /c1 to /c4 are used are used to calibrate the first, second, third and fourth temperature probe respectively. Access the parameters and then set the required values. When pressing Set, after having entered the value, the display does not show the parameter, but rather immediately shows the new value of the probe reading being calibrated. This means the result of the setting can be checked immediately and any adjustments made as a consequence. Finally, press Prg for 5 seconds to save the value of the parameter. Important: the values of parameters rt, rL and rH are saved to the controller’s memory every hour. If the controller is not connected to an uninterruptible power supply, a temporary blackout may mean the values of rt, rL and rH measured in the last hour will be lost. When power returns, the controller automatically restarts monitoring from the previously saved values. 21 ir33plus +0300028EN rel. 1.0 - 27.03.2013