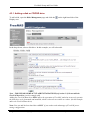
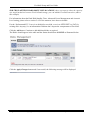
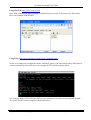
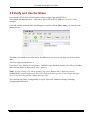
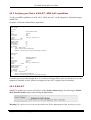
1
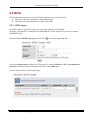
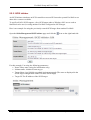
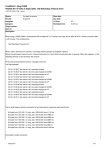
FreeNAS Setup and User Guide
4.5 Verify and Use the Share
From another PC on the FreeNAS subnet (in this example I am using XP Pro).
Select Start and Run and enter \\ followed by the FreeNAS PC IP Address (\\10.19.2.5 in my
example).
Click OK and the mounted Share should appear complete with the Share name you entered in the
Mount process.
This Share is available to the network for Read/Write access and you can map a local drive to the
share.
Test it by copying some data to it.
If you have ‘show hidden files and folders’ enabled in your Explorer settings, you will see a hidden
and read only folder in there called .snap - ignore it.
Note: If you are using a PC which normally logs into a Domain that is different from the
WORKGROUP name configured in FreeNAS, you may possibly get one or more Login dialogue
boxes. If so, leave the password blank and select OK.
This concludes the Basic Configuration set up for FreeNAS. Additional settings including
configuring RAID follow.
Page 31 of 73
Copyright © 2005, 2007 FreeNAS Documentation Project.
Ver 0.684b