Transcript
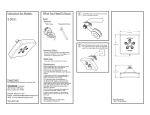
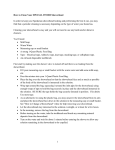
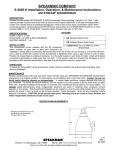
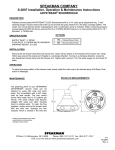
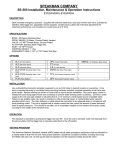
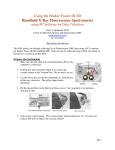
Instructions for Models:
SI-A101
SI-A101-BN
What You Need To Know:
Important Notes:
③ Screw the bottle onto the body assembly shank.
Be sure to read instructions thoroughly before
beginning installation. Do not overtighten any
connections or damage may occur. This soap
dispenser has an operating range of 20-80 psi.
Ø2.00''
[Ø50.80mm]
Safety Tips:
Cover your drain to prevent loss of parts.
Be sure to wear eye protection while cutting pipe.
Maintenance:
Your new Soap Dispenser is designed for years of
trouble-free performance. Keep it looking new by
cleaning it periodically with a soft cloth. Avoid
abrasive cleaners, steel wool and harsh chemicals
as these will dull the finish and void your warranty.
the bottle. Separate the soap dispenser
① Remove
head from the flange body assembly.
11.73''
[297.89mm]
in the soap (not included) into the shank
④ Pour
orifice.
2.20''
[56.00mm]
4.50''
[114.27mm]
Need Help?
For additional assistance or service call:
the body assembly through the selected
② Insert
hole in the sink. Secure the body to the sink by
screwing the mounting nut from the underside
of the sink. Hand tighten only.
SPEAKMAN Company
400 Anchor Mill Road
New Castle, DE 19720
PHONE: 800-537-2107
EMAIL: [email protected]
WEB: www.speakmancompany.com
92-SI-A101-R1
Ø1 3/8"
(Ø 35mm)
the soap head into the top of the
⑤ Reinsert
flange.