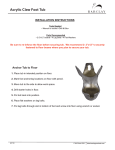
Transcript
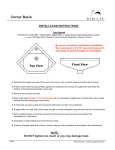
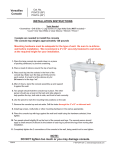
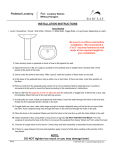
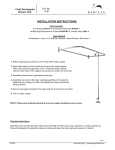
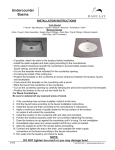
Tina
Basin
Cat No.
4-551
INSTALLATION INSTRUCTIONS
Tools Needed
• Screwdriver • Drill & Bits • 2 Molly Bolts, Toggle Bolts, or Large Wood Screws (depending on wall) • Level •
• Plumbers Basin Wrench to secure Faucet (Optional) • Wrench • Pencil • Tape Measure • Plumbers Putty •
Parts Included
• 1 Basin • 2 Metal Mounting Brackets •
Be sure to re-inforce wall before installation.
We recommend a 2”x12” securely fastened
to wall studs at the desired height for your
installation.
Wall Hung Installation
** Be sure water supply is turned off before beginning.
1. Determine the height you want. Place basin against the wall. Use a level to
make sure both sides are level.
2. Position each metal mounting bracket against the underside rear of basin
and against the wall. Mark the location of mounting bracket holes on the wall.
3. Remove the basin from the wall. Wall should be reinforced before continuing.
4. Start to drill hole through 2”x12” re-inforced wall for molly bolts or toggle bolts. If drill
bit hits a stud, mount bracket and bolts using large wood screws.
5. If molly bolts are used, install and expand the bolt holder and then mount brackets.
6. If toggle bolts are used, make holes large enough to accept collapsible wing nut bolts
and then mount bracket.
7. Before replacing basin, it would be convenient at this point to mount the faucet according
to the manufacturer’s instructions.
8. Hold basin on wall brackets and ensure that it is level.
9. Connect all supply tubes to the faucet. Connect trap and drain assembly as described by
the manufacturer.
NOTE:
DO NOT over tighten or you may damage basin.
7/27/10
P 847•244•1234
www.barclayproducts.com