Transcript
INSTALLATION INSTRUCTIONS FOR FIXTURE #5932
WARNING! SHUT POWER OFF AT FUSE OR CIRCUIT BREAKER.
AVERTISSEMENT! COUPER LE COURANT AU NIVEAU DES FUSIBLES OU DU DISJONCTEUR.
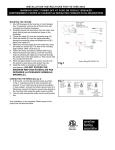
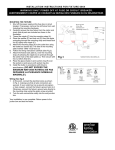
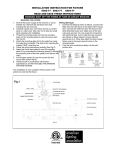
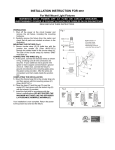
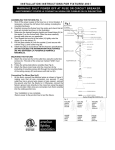
MOUNTING THE FIXTURE (FIG. 1)
1. Shut off the power supply at the fuse box or circuit
breaker box. If necessary, remove the old fixture from
wall including the mounting hardware.
2. Carefully remove the new fixture from the carton and
check that all parts are included as shown in the
illustration.
3. Attach the mounting plate (A) to the outlet box using
the outlet box screws (B). The side of the mounting
plate marked “GND” must face out.
4. Follow the wiring instructions carefully (See Fig.2).
5. Attach the fixture plate (D) over the mounting plate
(A), and secure with mounting screws (E) at the top
and bottom.
6. Place the glass shade (H) over the socket (I) and
secure with cushion ring (F) and socket ring (G).
7. Install the bulb in accordance with fixture’s
specifications. (DO NOT EXCEED THE
MAXIMUM WATTAGE RATING!) (NE PAS
DEPASSER LA PUISSANCE NOMINALE
MAXIMALE!).
CONNECTING THE WIRES (FIG. 2)
1. At this point, connect the electrical wires as shown in
the wiring diagram, making sure that all wire
connectors are secured. If your outlet box has a
ground wire (green or bare copper), connect the
fixture’s ground wire to it. Otherwise, connect the
fixture’s ground wire directly to the cross bar using the
green screw provided.
2. Tuck the wire connections neatly into the wall junction
box.
Your installation is now complete. Return power to the
juction box and test the fixture.
B
(A)
(H)
(I)
(D)
(E)
Fig.1
Fig.2
SOCKET RING #SKT-RING-26