Transcript
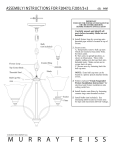
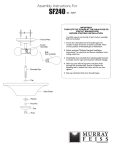
ASSEMBLY INSTRUCTIONS FOR SF217
IMPORTANT
TURN OFF THE POWER AT THE MAIN FUSE
OR CIRCUIT BREAKER BOX
BEFORE STARTING INSTALLATION
Machine Screws
Mounting Plate
4
Supply Wires
Carefully unpack and identify all parts
before assembly. Bulb not included.
1.
Thread fixture wires through the upper
body. Then install socket assembly by
screwing onto bottom of the upper body.
2.
Install glass panels:
A. Take one glass panel and carefully slip
through inside of main frame. Position it
so both side edges of the panel are located
hidden behind vertical ribs of the main
frame.
B. Lock the glass panel by bending tabs
located at top and bottom of main frame.
C. Repeat other glass panels.
3.
Install upper body by fastening with cap
screws onto ring located at top of main
frame.
4.
Follow enclosed "Multiple Standard
Installation Instructions" for electrical and
fixture installation onto ceiling junction
box.
5.
Install bulb (not included). See relamping
label located at socket area for type and
maximum allowed wattage.
6.
Install the center pipe by screwing onto
bottom of main frame. Note correct
position of center pipe at illustration.
7.
Install glass plate by slipping through the
already installed center pipe and then
fastening with a finial.
IMPORTANT: Do not over tighten.
Fixture Wires
Cap Nuts
Bulb
(not included)
Upper Body
5
1
Socket Assembly
3
Cap Screws
2
Glass Panel
Main Frame
Center Pipe
(E)REV 4/19/06
6
7
Glass Plate
Finial
©MURRAY FEI SS I MPORT LLC.
M U R R A Y
A Quality Home Brands Company®
F E I S S