1
7
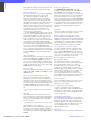
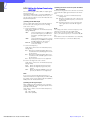
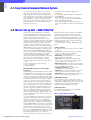
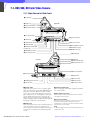
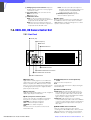
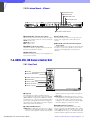
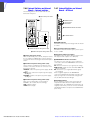
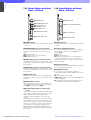
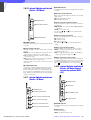
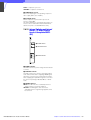
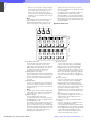
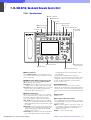
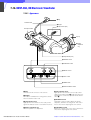
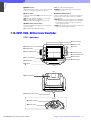
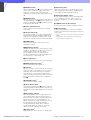
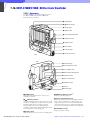
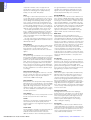
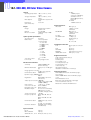
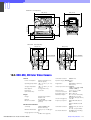
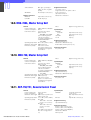
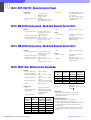
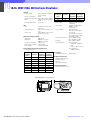
7-9. MSU-750, Master Setup Unit
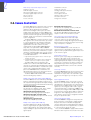
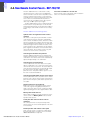
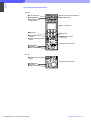
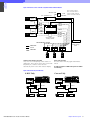
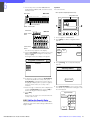
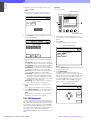
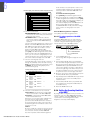
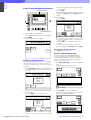
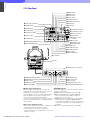
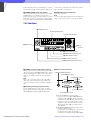
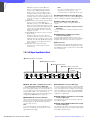
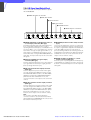
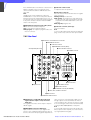
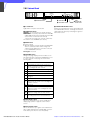
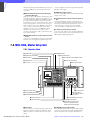
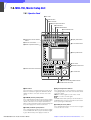
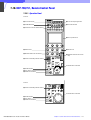
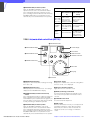
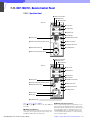
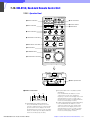
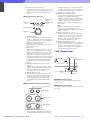
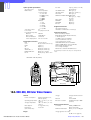
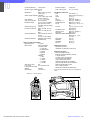
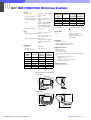
7-9-1 Operation Panel
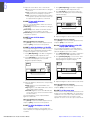
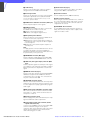
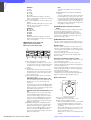
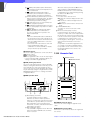
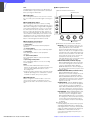
1 ALL button
2 CAM PW button
3 VF PW button
4 Signal output select buttons
5 CLOSE button
6 STANDARD button
7 AUTO SETUP block
AUTO SETUP
ALL
8 Camera/CCU function ON/OFF
buttons
9 Scene file control block
CAM PW VF PW
TEST
BARS
5600K AUTO SKIN
KNEE DETAIL
1
2
3
R
G
B
CHARACTER
4
qs Display window block
ECS/SHUTTER
GAMMA
MASTER
GAIN
ND CC
FILTER
ACCESS
5
SCENE FILES
q; Monitor output select buttons
AUTO LEVEL START/ WHITE BLACK
CLOSE STANDARD HUE
BREAK
STORE
qd IC card insertion block
IC MEMORY CARD
SEQ
ENC
WF
MONITOR
PIX
MODE
MULTI
CARD
qf Menu operation block
CONFIG
MAINTENANCE
FILE
PAINT FUNCTION
CALL
qg CALL button
PANEL PARA EXPAND
ACTIVE
MULTI
TALLY
07
08
09
10
11
IRIS/MB
ACTIVE
qh IRIS/MB ACTIVE button
12
qa Camera select block
EXT
AUTO
MULTI
TALLY
01
02
03
04
05
qj Iris control block
06
MASTER BLACK
IRIS
MASTER SETUP UNIT
ql Camera number/tally indication window
qk MASTER BLACK control block
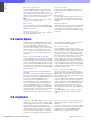
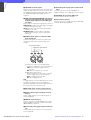
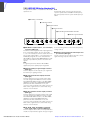
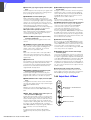
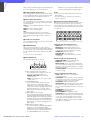
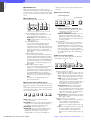
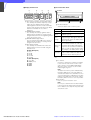
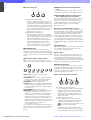
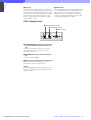
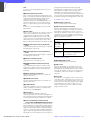
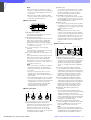
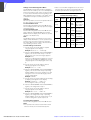
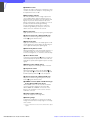
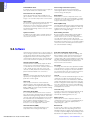
a ALL button
Press the button so it starts flashing to activate the 11
buttons located at the right (from CAM PW to AUTO
SETUP) for all the connected cameras of the same
group.
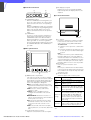
b CAM PW (camera power) button
Press and light up this button to turn the power supply
to the video camera ON. (The button promptly flashes
until the camera becomes ready for transmission.)
When you press this button again, it starts flashing and
the power supply to the camera is turned off.
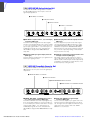
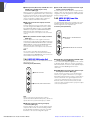
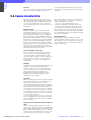
c VF PW (viewfinder power) button
Press and light up this button to turn the power supply
to the viewfinder ON. When you press the button again,
it goes dark and the power supply is turned off.
HDC-900/950/930 Series Product Information Manual
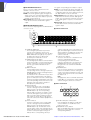
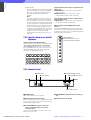
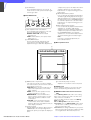
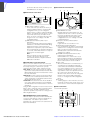
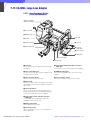
d Signal output select buttons
Press and light up one of these buttons to activate the
test signal generator of the video camera and send the
respective signals.
TEST: To send a signal to test the video circuits
BARS: To send a color bar signal
Note
The BARS button takes priority to the TEST button. If
the BARS button is lit, press the button to turn it dark
before pressing the TEST button.
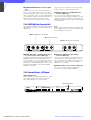
e CLOSE (iris close) button
Press and light the button to close the iris. Press again
to release the close mode.
Chapter 7 Location and Function of Parts and Controls
112