1
 Disconnect the SAS cable and power cable from the backplane.
5.
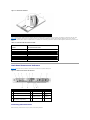
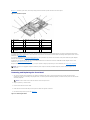
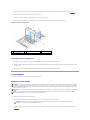
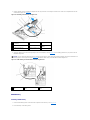
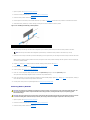
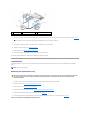
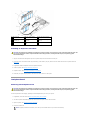
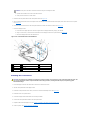
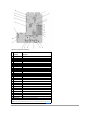
If you are removing a 3.5-inch hard drive (two-drive) backplane, see Figure 3-20.
Remove the backplane
6.
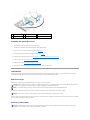
If you are removing a 3.5-inch hard drive (two-drive) backplane, press the release latch at the left end of the board, slide the board to its right, and lift the backplane off of the securing tabs. See Figure 3-20.
Figure 3-20. 3.5-Inch Hard Drive Backplane Board Removal and Installation
1
backplane board release latch
2
backplane board
3
securing slots
4
securing tabs
5
SAS interface cable
6
power cable
Installing the Backplane Board
CAUTION: Only trained service technicians are authorized to remove the system cover and access any of the components inside the system. See
your Product Information Guide for complete information about safety precautions, working inside the computer, and protecting against
electrostatic discharge.
1.
Replace the backplane board:
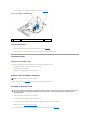
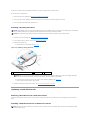
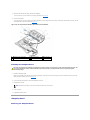
When you are installing a 3.5-inch hard drive (two-drive) backplane, fit the board onto the securing tabs, press the release latch at the left end of the
board and slide the board to its left. See Figure 3-20.
2.
Connect the SAS cable and power cable to the backplane connectors.
3.
Reinstall the hard drives.
NOTE: Reinstall the hard drives in the same drive bays from which they were removed.
4.
Close the system.
5.
If applicable, install the bezel.
Sideplane Board
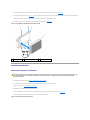
Removing the Sideplane Board