1
Recording
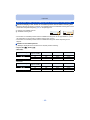
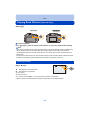
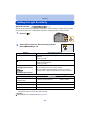
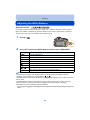
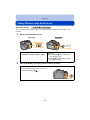
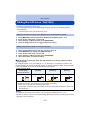
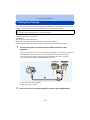
Switching to the appropriate flash setting
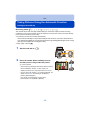
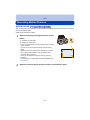
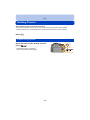
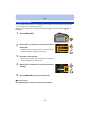
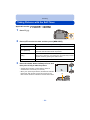
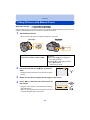
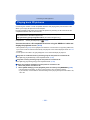
Set the flash to match the recording.
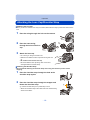
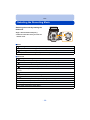
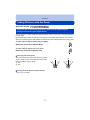
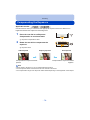
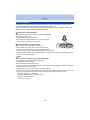
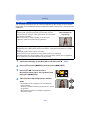
• Open the flash.
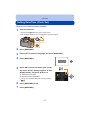
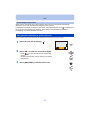
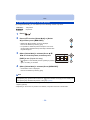
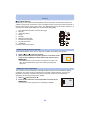
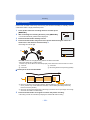
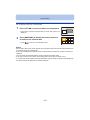
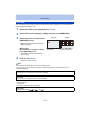
1
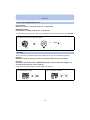
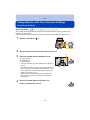
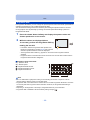
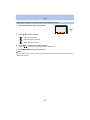
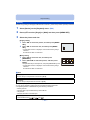
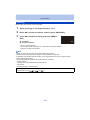
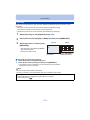
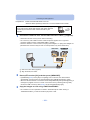
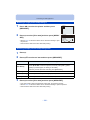
Select [Flash] in the [Rec] menu. (P52)
2
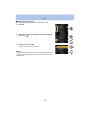
Press 3/4 to select a mode and then press [MENU/SET].
• Exit the menu after it is set.
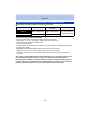
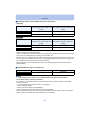
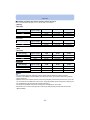
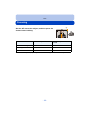
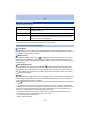
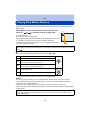
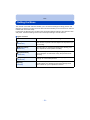
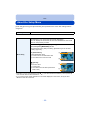
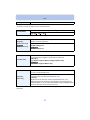
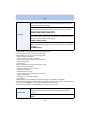
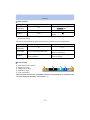
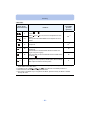
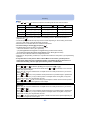
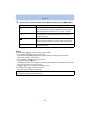
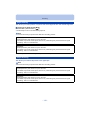
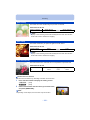
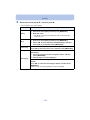
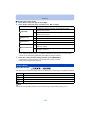
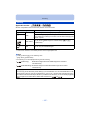
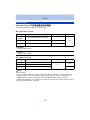
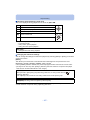
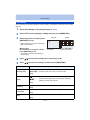
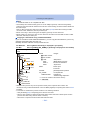
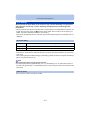
Settings
‡
([Auto])
([iAuto])¢1
([Auto/
Red-Eye])¢2
‰
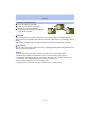
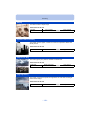
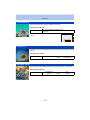
Description of settings
The flash is automatically activated when the recording conditions
make it necessary.
The flash is automatically activated when the recording conditions
make it necessary.
It is activated once before the actual recording to reduce the red-eye
phenomenon (eyes of the subject appearing red in the picture) and
then activated again for the actual recording.
• Use this when you take pictures of people in low lighting
conditions.
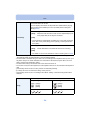
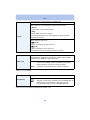
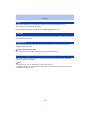
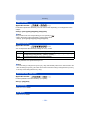
The flash is activated every time regardless of the recording
([Forced Flash conditions.
• Use this when your subject is back-lit or under fluorescent
On])
light.
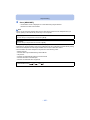
([Slow Sync./
Red-Eye])¢2
When taking pictures against a dark background landscape, this
feature will slow the shutter speed when the flash is activated. Dark
background landscape will appear brighter. Simultaneously it reduces
the red-eye phenomenon.
• Use this when you take pictures of people in front of a dark
background.
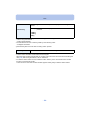
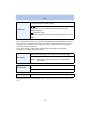
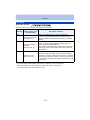
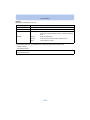
The flash is not activated in any recording conditions.
Œ
([Forced Flash
Off])
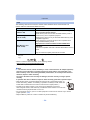
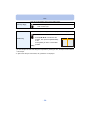
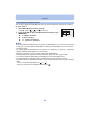
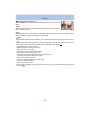
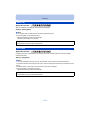
• This item is not displayed on the menu. To set the camera to
[Œ], close the flash.
• Use this when you take pictures in places where the use of the
flash is not permitted.
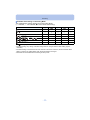
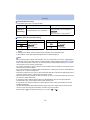
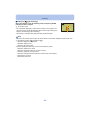
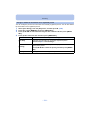
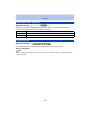
¢1 This can be set only when Intelligent Auto Mode is set. The icon changes depending on
the type of subject and brightness. (P39)
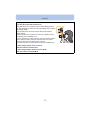
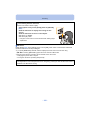
¢2 The flash is activated twice. The subject should not move until the second flash is
activated.
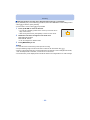
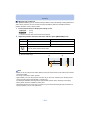
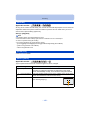
Flash interval depends on the brightness of the subject.
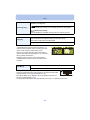
[Red-Eye Removal] (P145) on the [Rec] menu is set to [ON], [ ] appears on the
flash icon.
- 76 -