1
Using USB interface/Network Service—Continued
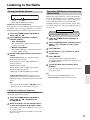
Playing Music Files on a Shared
Folder
This section explains how to play music files on a
computer or NAS (Network Attached Storage) through
the CD receiver.
In order to enjoy Home Media, you must first create a
shared folder on your computer.
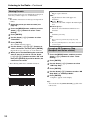
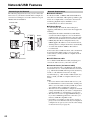
1
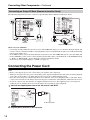
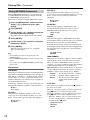
Press the [NET] button.
The network service menu appears.
Windows 7 Setup
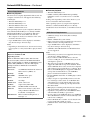
2
Use the Arrow [!]/["]/[#]/[$] buttons to
select “Home Media”, and press [ENTER].
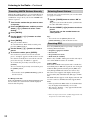
■ Setting the sharing options
3
Use the Arrow [!]/["] buttons to select a
server, and then press [ENTER].
Tip:
• The server name of your computer can be viewed
on the computer properties screen.
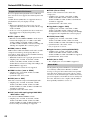
4
Use the Arrow [!]/["] buttons to select the
desired shared folder and then press
[ENTER].
5
When asked for a user name and password,
enter the necessary login information.
Tip:
• The login information will be remembered for the
next time you log in.
• The login information is that of the user account
set when creating a shared folder.
6
Use the Arrow [!]/["] buttons to select a
music file and then press [ENTER] or Play
[1] button.
The playback of the selected file starts.
1
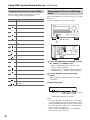
Select “Choose homegroup and sharing
options” on the Control Panel.
Tip:
• If this option is not available, verify that “View
by:” is set to “Category”.
2
3
Select “Change advanced sharing settings”.
4
Select “Save changes” and click “OK” on
the confirmation screen.
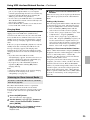
Under “Home or Work”, verify that the
following items are checked:
“Turn on network discovery”, “Turn on file and
printer sharing”, “Turn on sharing so anyone with
network access can read and write files in the Public
folders”, and “Turn off password protected sharing”.
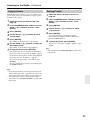
■ Creating a shared folder
28
Playing music files on a shared folder
1
2
3
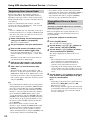
Right-click the folder that you want to share.
4
Check the check box of “Share this folder”
and then click “OK”.
5
Under “Network File and Folder Sharing”,
select “Share”.
6
Select and add “Everyone” from the pulldown menu and then click “Share”.
Tip:
• With this setting, everyone is allowed to access the
folder. If you want to assign a user name and
password to the folder, make the corresponding
settings for “Permissions” in “Advanced Sharing”
of the “Sharing” tab.
• Verify that “Workgroup” is properly set.
Note:
• When using NAS (Network Attached Storage),
refer to the instruction manual provided with your
NAS unit.
Select “Properties”.
On the “Sharing” tab, select “Advanced
Sharing”.




![2 Appuyez sur [ENTER].](http://vs1.manualzilla.com/store/data/006344112_1-5490808b11a7af7cfb484770c0b5963d-150x150.png)