1
snom Vision User Manual
Setting up
Initializing
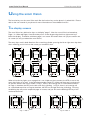
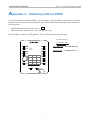
Normally the network initialization is completely automatic, using DHCP. If your network does not
support DHCP, see "Appendix 2 - Initializing without DHCP" on page 18 for the instructions on entering
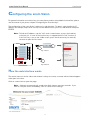
the necessary network data manually. After the device has been added to the network, you will see a
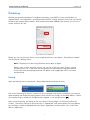
screen similar to this one:
Before you can use the snom Vision, it must be paired with your snom phone. The pairing is initiated
from the phone's Settings menu.
Note: The phone must be running firmware version 8.7.4 or higher.
Phones with a lower firmware version can only be used with snom Visions running
firmware version 1.2. In that case, the two devices are connected from the web interface
of the snom Vision by entering the phone's IP address and, if applicable, HTTP user name
and password.
Pairing
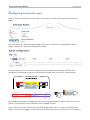
Open the Settings menu of the phone. Select 5 Maintenance and then 6 Vision.
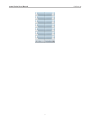
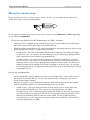
The screen "Scanning for Visions" contains the list of unpaired snom Visions available in your network,
represented by their respective pairing tokens, which are the last six digits of the MAC address. Select
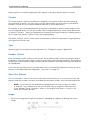
yours by pressing its number on the alphanumeric keypad. In our example, press 2 .
ABC
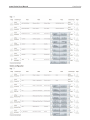
After successful pairing, the display of the snom Vision will show Page 1 of the three function key
screens. The factory settings of all function keys is "Speed dial", with the exception of the low bottom
keys on Page 1 which are mapped with the function "Application" and the values "Info", and "Photo
album", respectively.
8