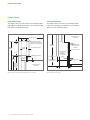
1
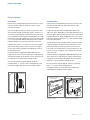
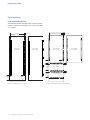
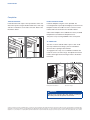
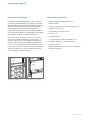
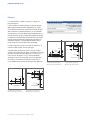
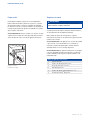
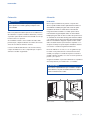
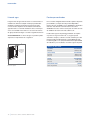
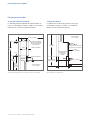
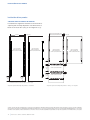
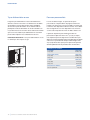
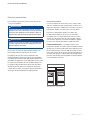
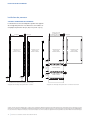
INSTALLATION
Placement
CAUTION
Before moving the unit into position, secure the door/
drawers closed and protect any finished flooring.
Use an appliance dolly to move the unit near the opening.
Front and rear leveling legs can be adjusted from the front
once the unit is positioned.
If the unit has been on its back or side, it must stand upright
for a minimum of 24 hours before connecting power.
Plug the power cord into the grounded outlet and roll the
unit into position. Verify the anti-tip bracket is properly
engaged.
Alignment
LEVELING
Once the unit is in position, height adjustment can be made
from the front. Using a standard screwdriver, turn front
leveling legs clockwise to raise the unit or counterclockwise
to lower. Using a Phillips drive, turn rear adjustment screws
clockwise to raise the unit or counterclockwise to lower. Use
the lowest torque setting when using a power drill (18 revolutions equals 1/16" of height adjustment). Do not turn the
rear leveling legs by hand. Refer to the illustrations below.
Level the unit to the floor, not surrounding cabinetry. This
could affect the operation of the unit, such as door closing.
When the unit is properly leveled, door/drawer adjustments
are less likely to be necessary.
Secure the unit in place using the side mounting clips and
#8 x 1/2" screws provided.
WARNING
To reduce the possibility of the unit tipping forward,
the front leveling legs must be in contact with the floor.
Front adjustment.
Rear adjustment.
subzero.com
|
9