1
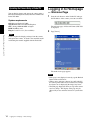
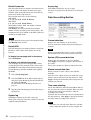
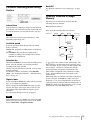
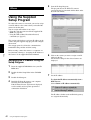
Changing the Communication
Bandwidth
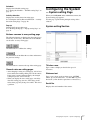
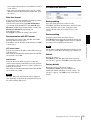
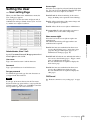
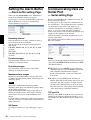
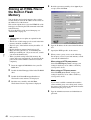
Setting the Date and Time
1
1
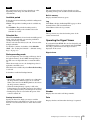
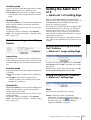
Click the Date time tab to display the date/time
setting window.
2
Click to select the camera you want to set the date
and time for.
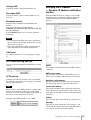
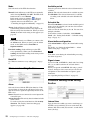
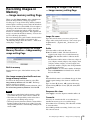
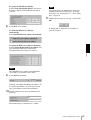
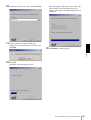
Click the Bandwidth control tab to display the
bandwidth setting window.
The current bandwidth is displayed in Current
bandwidth.
You can set the date and time on the camera.
Others
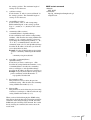
2
Click to select the desired bandwidth from the
Setting bandwidth list box.
3
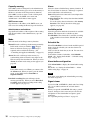
Type the Administrator name and Administrator
password in each box.
4
Click OK.
If "Setting OK" is displayed, the bandwidth setting
is completed.
You can select multiple cameras and set the date
and time simultaneously.
3
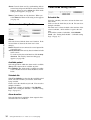
Select the date/time format from the Date time
format drop-down list.
4
Select the area where the camera is installed from
the Time zone selecting drop-down list.
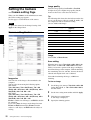
5
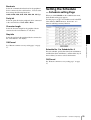
Set the date and time.
You can set the date and time in two ways.
Manual setting
Set the current date and time on the Manual current
date time setting boxes, and click OK. The setting
boxes are for the year (lower two digits), month,
date, hour, minutes and seconds from left to right.
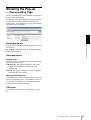
Using the computer’s date and time
The date and time set on the computer is displayed
in the PC current date time setting box.
Click OK on the right to set the camera’s date and
time to the displayed computer's date and time.
44
Using the Supplied Setup Program