1
Back to Contents Page
Audio Board
Dell Studio™ 1435 Service Manual Removing the Audio Board
Replacing the Audio Board
CAUTION: Before you begin any of the procedures in this section, follow the safety instructions that shipped with your computer.
NOTICE: To avoid electrostatic discharge, ground yourself by using a wrist grounding strap or by periodically touching an unpainted metal surface (such
as the back panel) on the computer.
Removing the Audio Board
1.
Follow the instructions in Before You Begin.
2.
Follow the instructions in Removing the Palm Rest.
3.
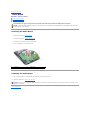
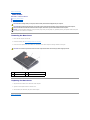
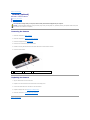
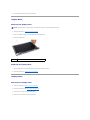
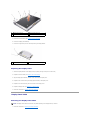
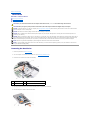
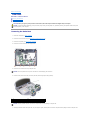
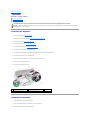
Remove the two screws that secure the audio board.
4.
Lift the audio board out of the computer base.
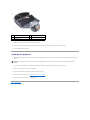
1
screw (2)
2
audio board
Replacing the Audio Board
1.
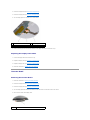
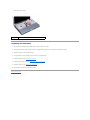
Place the audio board in the computer base and replace the two screws that secure it.
2.
Follow the instructions in Replacing the Palm Rest.
NOTICE: Before turning on the computer, replace all screws and ensure that no stray screws remain inside the computer. Failure to do so may result in
damage to the computer.
Back to Contents Page