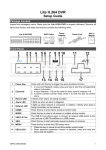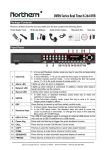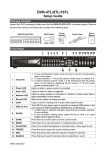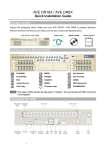
1
12
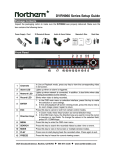
ENTER
13
COPY
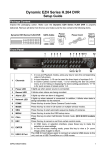
1. In OSD menu or selection interface, press these key to make the
selection or save settings.
2. In live full-screen viewing mode, press this key to view a 2× zoom
image; press it again to return.
This key is used for marking time in quick video export function.
14
PLAY/STOP
Press once to start the playback of recorded video. Press again to exit.
15
FREEZE
Press this key to freeze the current viewing screen.
16
SEARCH
17
Press this key to search recorded video by date/time or event.
1. In Zoom mode, these keys function as normal direction keys.
2. In the OSD setup menu, the direction keys are used to move the
Direction Keys
cursor to previous or next fields. To change the value in the selected
field, press UP / DOWN keys.
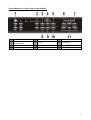
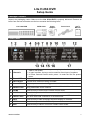
Rear Panel
1
2
3
4
5
6
7
8
2
The DVR is capable of networking. Once the unit is connected to the
LAN 10/100/1000M
LAN network, users can remotely access the DVR through the remote
(RJ-45)
software on a PC.
Alarm I/O, RS-485 The D-Sub connector provides alarm I/O, RS-485 & Audio In ports that
& Audio In
offer users the flexibility to connect required devices to the DVR.
Main Monitor –
The DVR can connect to a BNC monitor via the BNC connector.
BNC
A group of BNC connectors is provided for video input streams from
Video In
installed cameras. The DVR will detect video source of CH1 and
(BNC)
automatically adjust the system to NTSC or PAL video system.
This USB port allows users to connect a USB mouse with PS/2
USB Port
protocol.
Main Monitor –
The DVR can connect a VGA monitor via the VGA connector.
VGA
Main Monitor
Main Monitor Audio Out RCA connectors are provided for the DVR to
Audio Out
connect audio output devices (e.g. amplified speakers).
The DVR has a free voltage DC power connection jack. Please
Power Jack
connect the power supply adapter shipped with the unit.