1
Bottom blade preparation and mounting
Ensure that the grinding machine power is switched off to prevent accidental
start-up
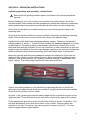
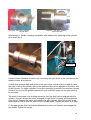
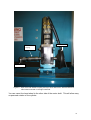
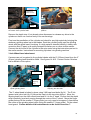
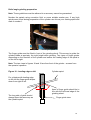
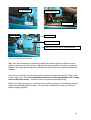
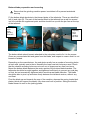
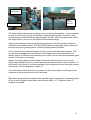
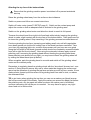
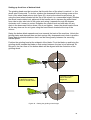
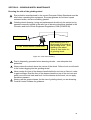
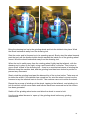
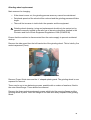
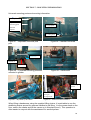
Fit the bottom blade brackets to the inboard sides of the tailstocks. These are identified
left (L) and right (R). The part of the bracket fitted to the tailstock has a red line scored
into it to indicate the uppermost point and this should line up with the jaw face at the top
of the tailstock.
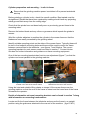
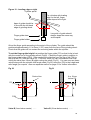
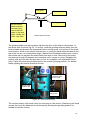
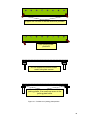
Adjusting
lever
when
grinding
front face
Adjusting
lever
when
grinding
top face
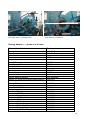
Figure 34 – Left hand bracket
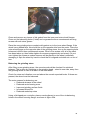
Figure 35 – Right hand bracket
The bottom blade should remain attached to the sole plate used to fix it to the mower.
Clean any accumulated dirt and grass from the blade, and inspect to ensure that it is not
bowed or twisted.
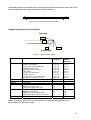
Depending on the manufacturer, the sole plate usually has a number of mounting holes
at each end, typically one to three. Normally the lower rear bolt holes are used. Check
that the chosen mounting holes are not worn out of shape and are free from burrs.
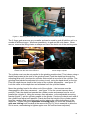
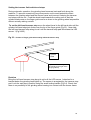
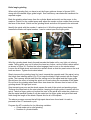
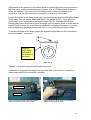
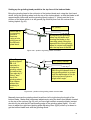
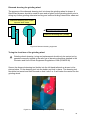
Mount the bottom blade between the centre points of the bottom blade brackets. The
tailstocks should be brought together and tightened sufficiently to prevent any end play
or float, but not excessively tightened which would cause blade distortion. The blade
should be able to pivot up and down freely between the tailstock centres, without any
end float.
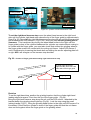
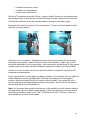
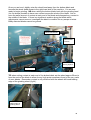
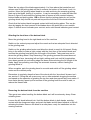
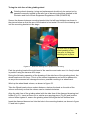
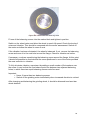
Pivot the blade up and towards the rear of the machine, depress the spring loaded jack
plates (which will support the blade) fully down and lock in position. Swing the bottom
blade forward to rest on the jacking plates.
32