1
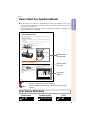
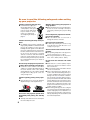
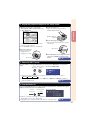
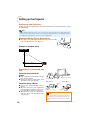
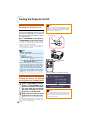
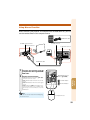
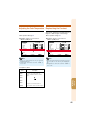
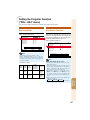
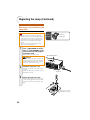
4. Adjust the projected image with the Setup Guide
1 After the projector turns on, the Setup
3 Angle (See page 28.)
Guide appears. (When “Setup Guide” is set
to “On”. n page 45)
• Adjust the projector angle using the
HEIGHT ADJUST button.
Quick Start
HEIGHT ADJUST
button
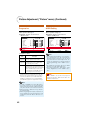
4 Zoom (See page 28.)
• Refer to the Setup Guide screen to adjust
the focus, angle and zoom.
• Press TENTER to finish the Setup Guide.
2 Focus (See page 27.)
• Bring the projected
image into focus
using the focus ring.
Focus ring
• Adjust the projected image size using the
zoom knob.
zoom
in
Zoom knob
zoom
out
5 After adjusting the focus, height and screen
size, press TENTER to finish the Setup
Guide.
_P. 27
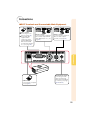
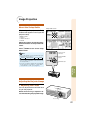
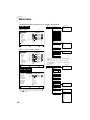
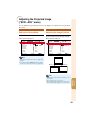
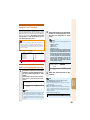
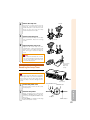
5. Select the INPUT mode
Select the “INPUT 1” using the INPUT button on the projector or C INPUT 1 on the remote
control.
On the On the remote On-screen display (RGB)
control
projector
• When pressing the INPUT button on the projector, input mode switches in order of
INPUT1 INPUT2 INPUT3 .
• When using the remote control, press the CINPUT 1/DINPUT 2/EINPUT 3 button to
switch the INPUT mode.
_P. 29
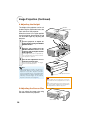
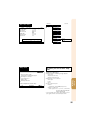
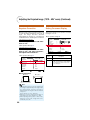
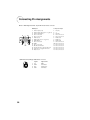
6. Turn the Power off
Press the ON/STANDBY button, then press that button again while the confirmation message is
displayed, to put the projector into standby mode.
On-screen Display
On the
On the remote
projector
control
• While the cooling fan is running, the Adjustment buttons blinks. (When
“Guide LEDs” is set to “On”. n page 48)
• Unplug the power cord from the AC outlet after the cooling fan stops.
_P. 26
17