1
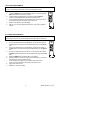
DATA STORAGE RECALL
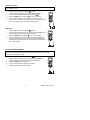
1. Press STORE button for two seconds to enter into RECALL function.
2. On the left upper aux display will show XXXX, which is the current storage location.
The right aux display will show XXXX, which is the number of storage locations
currently used.
3. Press the + or — button to select the storage location. The value in that location will
be indicated in the main display.
4. Press the PEAKHOLD button once to continuously scan data from 0000 to XXXX.
Press again then scan again.
5. Press the EXIT button to end the recall session.
CLEARING MEMORY
To clear the memory of all stored data, from the OFF position, hold the EXIT button and
switch the function switch to any position. Release the EXIT button and the LCD will flash
3 times and a buzzer will beep three times. Memory is now clear.
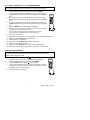
PC WIRELESS COMMUNICATION:
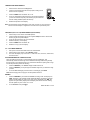
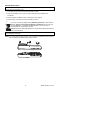
1. Install and launch the pc software
2. Press and Hold the backlight button for two seconds to enter RF wireless transmit
mode.
3.
4.
5.
6.
will appear on the display.
The RF icon
When communication is established, the RF icon on the display will blink and the led
indicator on the receiver will also blink.
Once per second, the data will be displayed on the pc screen, plotted and inserted
into a list.
Hold the backlight button for two seconds to exit the RF wireless transmit mode
SENDING STORED DATA TO THE PC
1. Launch the pc software
2. Press the STORE button for two seconds to enter into data RECALL function.
3. Press the HOLD button for two seconds. The RF transmit icon will flash while the
stored data is sent to the pc
SETUP
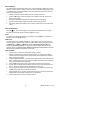
1. Press and Hold the RANGE/SETUP button for two seconds to enter the SET function.
The first of five settable functions will appear.
2. Press the RANGE button to step through the functions
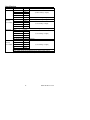
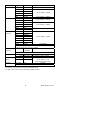
A: Upper limit buzzer alarm
OFF or Value
B: Lower limit buzzer alarm
OFF or Value
C: Auto power off time
OFF, 10 to 30 sec
D: Button beeper
ON/OFF
E: Back light time
OFF, 10 to 30 sec
Use the +, - ◄, and ◄ buttons to select and change conditions and digits.
3. Press the RANGE/SETUP button until the meter returns to the normal display to exit
this mode.
AC+DC
In the measuring modes VAC, mV(AC), 10A(AC), mA(AC) and uA(AC), press the EXIT
button for 2 seconds to enter into AC+DC testing. The precision is the same as in the AC
measure modes. The LCD shows AC+DC icon. Press the EXIT button to exit the mode.
LOW BATTERY INDICATION
When the
icon appears in the display, the battery should be replaced
11
EX540-EU-EN V1.4-3/11