1
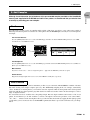
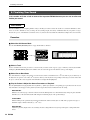
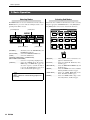
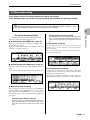
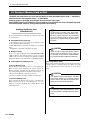
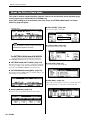
1. Recording Samples (Sampling)
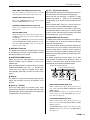
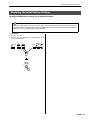
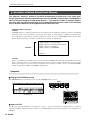
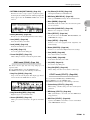
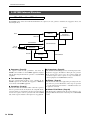
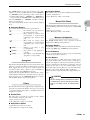
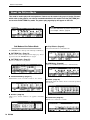
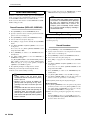
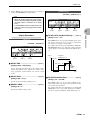
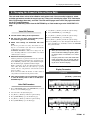
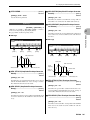
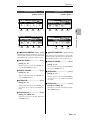
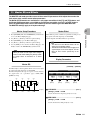
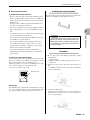
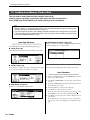
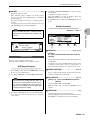
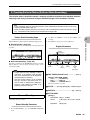
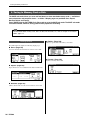
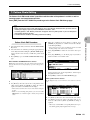
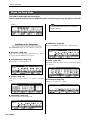
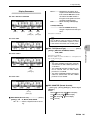
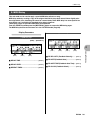
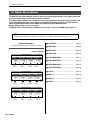
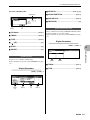
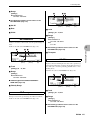
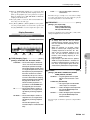
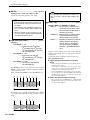
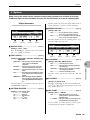
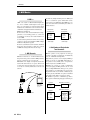
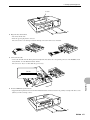
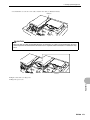
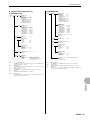
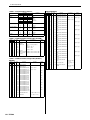
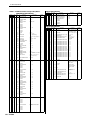
Samples up to 8 measures long
can be sliced.
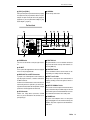
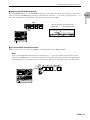
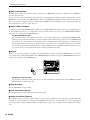
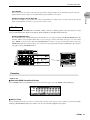
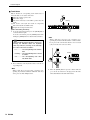
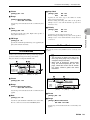
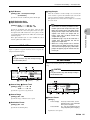
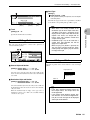
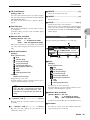
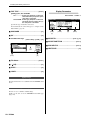
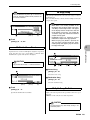
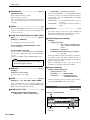
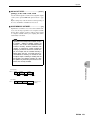
Original Sample
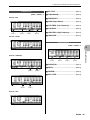
F0
F#0
G0
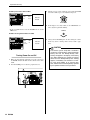
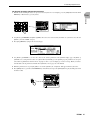
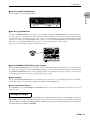
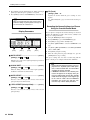
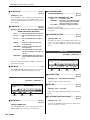
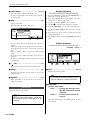
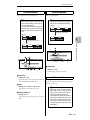
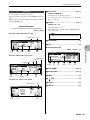
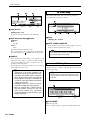
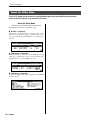
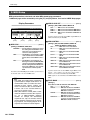
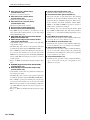
START/STOP] button to go to the Sampling Setup page.
The sample is sliced and
assigned to the keyboard.
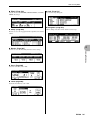
Current Measure
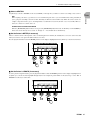
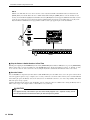
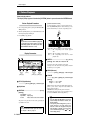
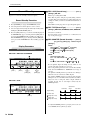
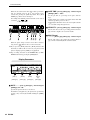
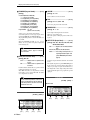
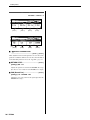
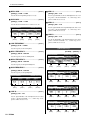
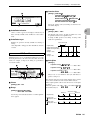
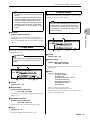
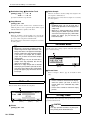
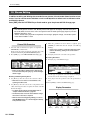
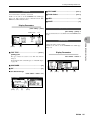
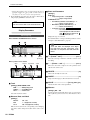
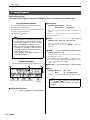
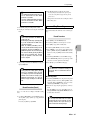
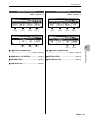
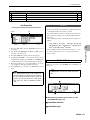
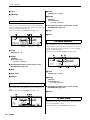
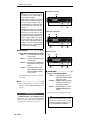
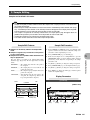
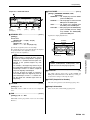
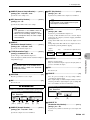
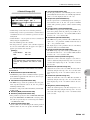
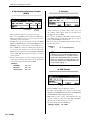
6. Use [Knob 1] ~ [Knob 4] to set the sampling TYPE, FRE-
QUENCY, SOURCE, etc., as required.
7. Press [F4] (OK) to go to the sampling standby page.
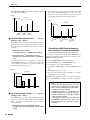
Note Data
G0
F#0
F0
E0
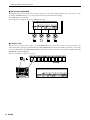
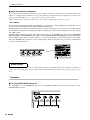
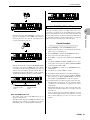
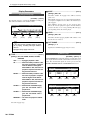
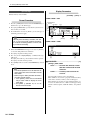
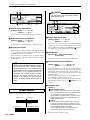
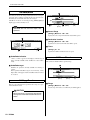
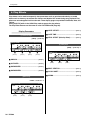
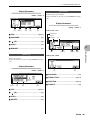
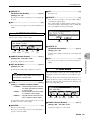
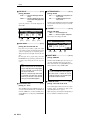
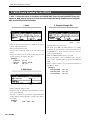
ton twice to go to the A/D Setup page, and use [Knob 1] to set
the INPUT GAIN as required.
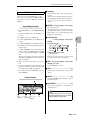
5. From the PATTERN or SONG mode press the [STANDBY/
Slice
E0
4. From the PATTERN or SONG mode press the [SETUP] but-
Since this is a sequence track BPM
changes, quantization, groove, play
effects, etc., can be applied as required.
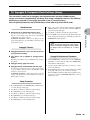
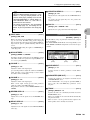
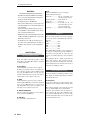
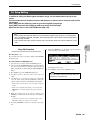
The SLICE+SEQ sampling type is best suited for sample
break-beats and phrases. Slicing is not appropriate for recording one-shot drum samples or similar samples.
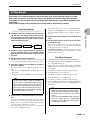
● Also functions as a regular sampler.
When the KIT or PITCH sample type is selected the sample
data is recorded without creating any note data, just like a
conventional sampler.
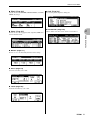
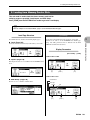
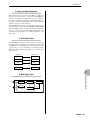
● Sample voices are played by being assigned to
tracks.
To play back a sample voice use the PATTERN or SONG
mode MIXER sub mode Voice Select page to assign the sample voice to a sequencer track. Assigned sample voices can be
played by the sequencer as well as the keyboard and velocity
pads. Depending on the sample type, single notes or chords
can be played via the keyboard (Pitched Voice), or separate
samples can be played by each key (Sample Kit Voice).
Using the Velocity Pads you can play a single sample at different pitches with velocity (Pitched Voice), or play 2 separate samples with velocity (Sample Kit Voice).
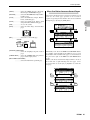
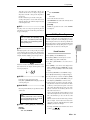
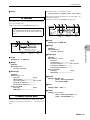
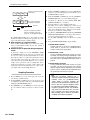
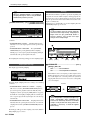
Depending on the selected sampling type, if the selected
sequencer track already contains data, “Sequence or Sample
exists. Cancel (F2)/Replace (F3)?” will appear on the display.
Press [F3] to overwrite the existing sample.
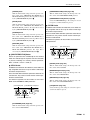
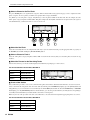
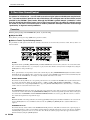
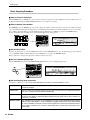
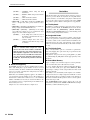
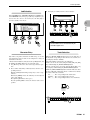
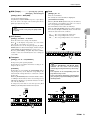
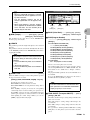
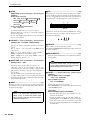
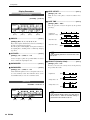
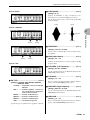
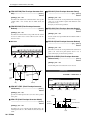
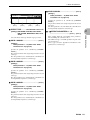
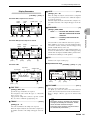
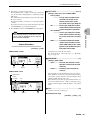
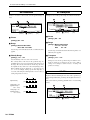
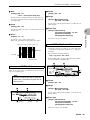
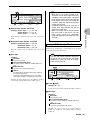
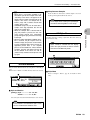
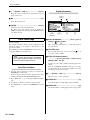
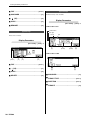
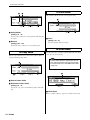
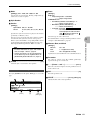
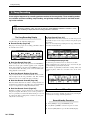
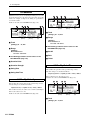
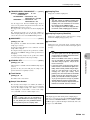
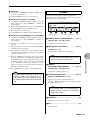
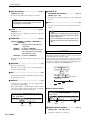
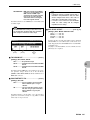
8. Use [Knob 3] (TRIGGER MODE) and [Knob 4] (TRIGGER
LEVEL)/(PUNCH IN/OUT) to set the trigger mode and trigger level or punch-in/out measures as required.
Use the [REC VOLUME] control to adjust the recording
level.
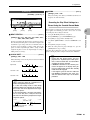
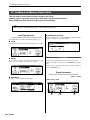
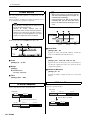
9. Press [STANDBY/START/STOP] to begin sampling.
If TRIGGER MODE = MANUAL
Sampling will begin the instant the [STANDBY/START/
STOP] button is pressed. Press [STANDBY/START/
STOP] a second time to stop sampling.
If TRIGGER MODE = LEVEL
Pressing [STANDBY/START/STOP] engages the trigger
wait mode, and sampling will begin automatically as soon
as the input signal exceeds the specified trigger level. Sampling ends when the [STANDBY/START/STOP] button is
pressed.
If TRIGGER MODE = MEASURE
Pressing [STANDBY/START/STOP] engages the trigger
wait mode, then after pressing [PLAY] to start sequence
playback sampling will begin automatically at the specified
punch-in measure. Sampling will stop automatically when
the specified punch-out measure is reached.
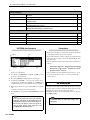
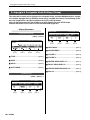
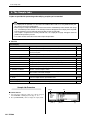
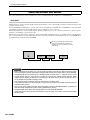
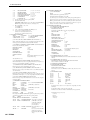
Sampling Procedure
NOTE
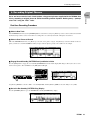
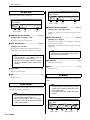
1. Press [UTILITY] to go to the system page and execute the
wave memory optimize function.
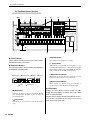
2. In the PATTERN or SONG mode select the track to be sued
for sampling by pressing a white key on the keyboard while
holding the [TRACK SELECT] button.
3. Press [MIXER] to go to the MIXER page and select the sam-
ple voice number to which you want to record the new sample.
230 RS7000
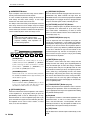
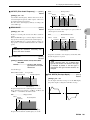
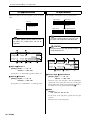
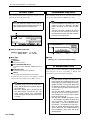
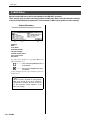
• When the KIT+NOTE sampling type is
selected sequence playback will begin automatically when the [STANDBY/START/
STOP] button is pressed. Sampling will
always be synchronized with sequencer playback. In this case sequence playback cannot
be started from the Sampling Standby page.
• Sequence playback will not start automatically when the SLICE+SEQ, KIT, or PITCH
type is selected. Press [PLAY] from the Sampling Standby page in order to synchronize
sampling with sequencer playback.