1
Getting Started
Using the Printer
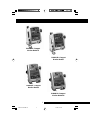
Installing the Paper (Models With Printer)
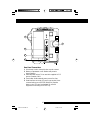
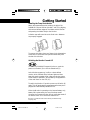
Tilt the DINAMAP Compact Monitor back and grasp the
tabs at the sides of the printer door (26). Squeeze the tabs
together and pull the printer door down. Place the roll of
paper into the compartment so that the end of the paper
comes off the top of the roll and extends approximately 1
inch (2.5 cm) beyond the roller at the front edge of the
door. There is no need to thread the paper; it simply rests
over the rubber roller.
Note: Make sure that the roll of paper is tightly wound.
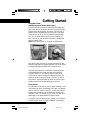
With the Monitor powered on, snap the printer door shut,
leaving a small amount of paper exposed. The printer motor
will feed a little paper forward and out over the door.
Any time the printer door is opened or closed the printer
will automatically print a test strip with the DINAMAP
Compact name on it. If no print is visible on the paper,
check that the paper roll has been installed correctly. The
paper should be coming off the top of the roll. To tear off
the printout, use a slight sideways action to pull the paper
sharply down across the serrated edge of the door.
Printer Alarms
If the Monitor is switched on with no paper installed or with
the printer door open, the message “No Paper” will appear
next to “PRNT” in Area 3 of the LCD. When new paper is
installed and the printer door is closed, the message will
change to “Man” for Manual print or “Auto” for Auto print,
depending on the status before the paper change.
If the paper runs out during a print request or if an attempt
is made to print when no paper is installed, the message
21
COMPACT MAN-REV B
21
1/12/99, 9:47 AM