1
Fyrite® INSIGHT
6.5 Thermocouple Replacement
Using the appropriate thermocouple replacement kit listed below, replace
the probe’s thermocouple as follows:
Each kit contains a thermocouple assembly, two O-rings, and two wiresplice connectors.
Tools Required:
• Small flat blade screwdriver
• Wire cutter
• Wire stripper
• Slip joint pliers
Procedure:
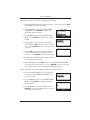
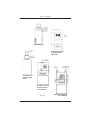
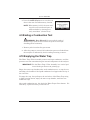
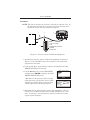
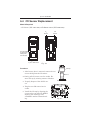
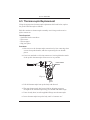
1. Gain access to the thermocouple connections by first removing three
screws from probe handle, and then separating the two handle
pieces.
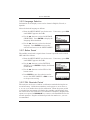
2. Cut wires attached to old crimp connectors, leaving behind as much
of the probe’s thermocouple-connector wire as possible
Probe Handle
Screws
Fig. 6.8
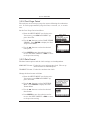
3. Pull old thermocouple from probe body and discard.
4. The new thermocouple has been coiled for shipping purposes.
Straighten the thermocouple using your thumb and index finger.
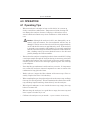
5. If not already done, install supplied O-Rings onto thermocouple.
6. Insert thermocouple into probe body until it “bottoms out.”
Instruction 0024-9460
49