1
VISTA-128BP/VISTA-250BP Installation and Setup Guide
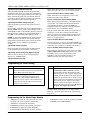
Scheduling Menu Mode
The #80 Scheduling Menu Mode is used to program
most of the scheduling and timed-event options. Enter
Installer Code + [#] + [8] + [0] from the normal
operating mode. NOTE: Only users with an Installer
or Master level user code may enter the #80 mode.
Steps to Program Scheduling Options
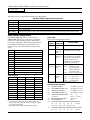
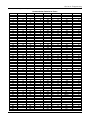
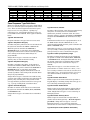
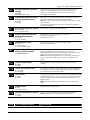
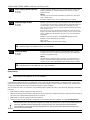
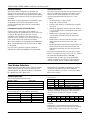
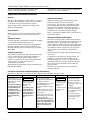
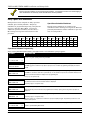
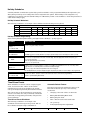
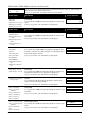
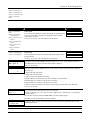
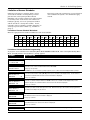
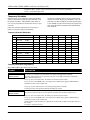
This section contains examples of the
worksheets only. For complete worksheets,
see the Programming Guide accompanying
this Installation and Setup Guide.
The following can be programmed while in this mode:
•
•
•
•
time windows
open/close schedules to each partition
holiday schedules
Time-Driven events (for system functions and
relay activation)
•
limitation of access schedules
Some scheduling features are programmed in Data
Field Programming Mode (Installer Code + 8 0 0 0).
Some features are programmed in the #93 Menu Mode.
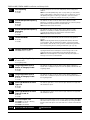
The programming scheduling fields are listed below.
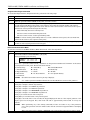
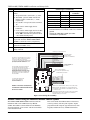
System-Wide Fields:
*04
Enable Random Timers
1*74 –1*75
Relay timeout values
2*01-2*02
Daylight saving time options
Allow disarming outside window if alarm
2*11
occurs
Partition-Specific fields:
2*05
Auto-arm delay value
2*06
Auto-arm warning time
2*07
Auto-disarm delay value
2*08
Force-arm enable
2*09
Open/Close Reporting by Exception
2*10
Restrict disarm only during windows
#93 Menu Mode (System Group #3)
Scheduling related report codes
Event-driven options are programmed using Output
Programming in #93 Menu Mode. Relay activation can
also be Time-Driven and that those are programmed
using the #80 Menu Mode. Refer to the Time-Driven
Event Programming later in this section for the
procedure.
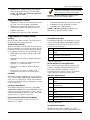
In order to use #80 Scheduling Menu Mode, use the
worksheets to do the following:
1.
Define time windows (up to 20)
2.
Define the daily open/close schedules (one
schedule per day, per partition)
3.
Define the holidays to be used by the system (up to
16)
4.
Define limitation of access times (up to 8
schedules)
5.
Define the Time-Driven events (up to 20)
NOTE: Temporary schedules are programmed using
#81 Menu Mode.
Use #80 Scheduling Menu Mode to perform the
following functions:
6.
Program the time windows
7.
Program the open/close schedules
8.
Program the Time-Driven events
9.
Program the access schedules
Scheduling Menu Structure
To program schedules, enter Scheduling Program
Mode:
Installer Code + [#] + [80]. (Installer or Master level
user code.)
Scheduling Program Mode can be entered
only when all partitions are disarmed.
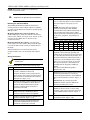
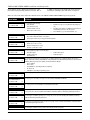
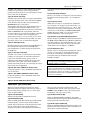
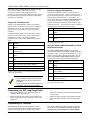
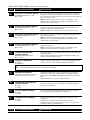
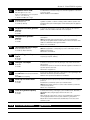
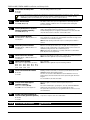
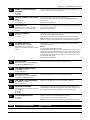
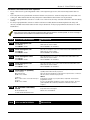
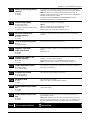
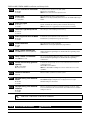
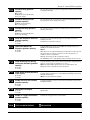
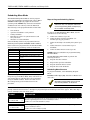
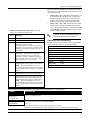
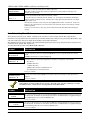
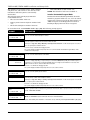
There are 6 sections of scheduling menus accessed via #80, as shown below. Entering 1 at a displayed main menu
prompt selects that menu section. Prompts for programming that scheduling feature then appear. Enter 0 to skip a
section and display the next menu option.
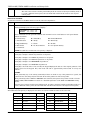
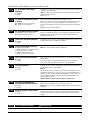
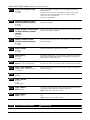
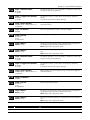
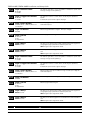
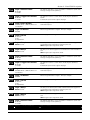
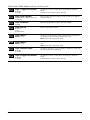
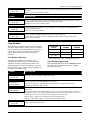
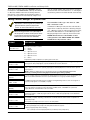
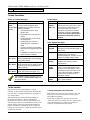
PROMPT
EXPLANATION
Time Window ?
Upon entering Schedule Menu Mode, this prompt appears. Enter 1 to program time windows. Refer to Time
Windows Programming later in this section for detailed procedures.
1 = YES 0 = NO
0
Enter 0 to move to the “O/C Schedules?” prompt.
O/C Schedules ?
1 = YES 0 = NO
0
Enter 1 to program opening and closing schedules. Refer to Open/Close Schedules Programming later in this
section for detailed procedures.
Enter 0 to move to the “Holidays?” prompt.
6-4