1
EXTRA 260.
Instruction Manual.
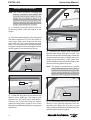
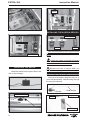
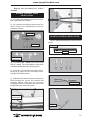
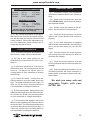
! 3) Carefully bend the second nylon tube
up at a 45º angle. This tube is the vent tube.
Balsa wood.
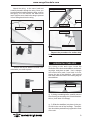
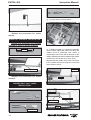
! 5) With the stopper assembly in place,
the weighted pick-up should rest away from
the rear of the tank and move freely inside the
tank. The top of the vent tube should rest just
below the top of the tank. It should not touch
the top of the tank.
! 6) When satisfied with the alignment of
the stopper assembly tighten the 3mm x 20mm
machine screw until the rubber stopper expands and seals the tank opening. Do not
overtighten the assembly as this could cause
the tank to split.
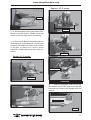
Attach the silicone fuel and pressure pipes
to the tank. The lower pipe is the ‘feed’ and the
upper two the ‘pressure and fill’. The fill pipe is
the next pipe.
Fuel Pick-up Tube.
Vent tube.
Fuel Fill Tube.
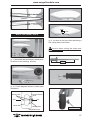
Carefully use a lighter or heat gun to
permenently set the angle of the vent tube.
Important: When the stopper assembly is
installed in the tank, the top of the vent tube
should rest just below the top surface of the
tank. It should not touch the top of the tank.
! 4) Test fit the stopper assembly into the
tank. It may be necessary to remove some of
the flashing around the tank opening using a
modeling knife. If flashing is present, make
sure none falls into the tank.
6
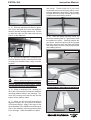
You should mark which tube is the vent
and which is the fuel pick-up when you attach
fuel tubing to the tubes in the stopper. Once
the tank is installed inside the fuselage, it may
be difficult to determine which is which.
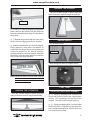
Balsa wood.
Fuel tank.
Rubber band.