1
Installation Instructions
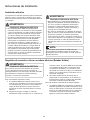
General installation
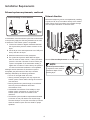
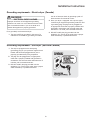
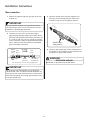
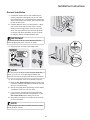
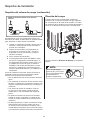
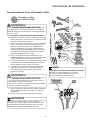
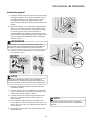
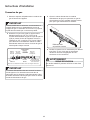
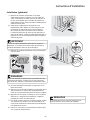
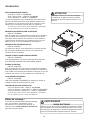
1 Connect the exhaust duct to the outside exhaust
system (see pages 6 through 8). Use of a 4” (102
mm) clamp (item A) is recommended to connect the
dryer to the exhaust vent system. Use metal foil tape
to seal all other joints.
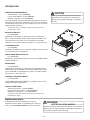
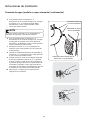
2 Carefully slide the dryer to its final position. Adjust
one or more of the legs until the dryer is resting
solidly on all four legs. Place a level on top of the
dryer. The dryer MUST be level and resting solidly
on all four legs. Rock alternating corners to check
for stability. Remove and discard door tape.
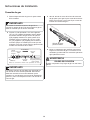
A
IMPORTANT
Be sure the power is off at a circuit breaker/fuse box
before plugging the power cord into an outlet.
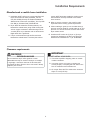
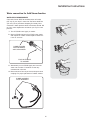
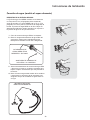
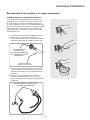
3 Plug the power cord into a grounded outlet.
Grounding type
wallll receptacl
wa
receptacle
Do not, under
anyy circumstances,
an
circumstances,
cut, remo
remove
ve,
or bypass
bypass th
the
grounding
gr
ounding pr
prong.
ong.
Power cord with
Power
3-prong gr
grounded
ounded plug
NOTE
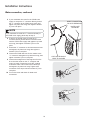
After you plug in the dryer the first time, the dryer will
power up on its own. It will take approximately one
minute for the LCD to perform initial boot up procedures.
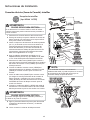
4 Turn on the power at the circuit breaker/fuse box.
5 Read the Use & Care Guide provided with the dryer.
It contains valuable and helpful information that will
save you time and money.
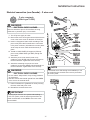
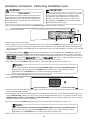
6 See the next page about performing a brief, helpful
“Installation Cycle” for your new dryer.
7 If you have any questions during initial operation,
please review the “Avoid Service Checklist” in your
Use & Care Guide before calling for service.
8 Place these instructions in a location near the dryer
for future reference.
NOTE
A wiring diagram and technical data sheet are located
inside the dryer console.
19