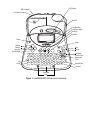
1
About Your New Labelmaker
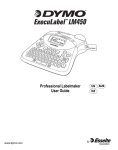
With your new DYMO LabelMANAGER™ 450
labelmaker, you can create a wide variety of highquality, self-adhesive labels. You can choose to
print your labels in many different sizes and styles.
The labelmaker uses DYMO D1 tape cassettes in
widths of 1/4” (6 mm), 3/8” (9 mm), 1/2” (12 mm),
3/4” (19 mm), or 1” (24 mm). Tape cassettes are
also available in a wide range of materials.
Visit www.dymo.com for information on obtaining
labels and accessories for your labelmaker.
Warranty Registration
Please complete the warranty registration card and
return it to the appropriate customer service
address within seven days of purchase. Visit
www.dymo.com for details.
Getting Started
Follow the instructions in this section to print your
first label.
Connecting the Power
The labelmaker can operate on AC or battery
power. To save power, the labelmaker will
automatically turn off after two minutes of inactivity.
Inserting the Batteries
The labelmaker uses six 1.5 volt high-capacity AA
alkaline batteries.
GB
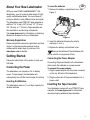
To insert the batteries
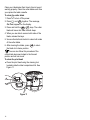
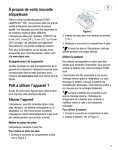
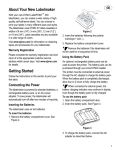
1. Remove the battery compartment cover. See
Figure 2.
Figure 2
2. Insert the batteries following the polarity
markings (+ and –).
3. Replace the battery compartment cover.
Remove the batteries if the labelmaker will
not be used for a long period of time.
Connecting the Power Adapter
Connecting the power adapter to the labelmaker
disconnects the batteries as a power source.
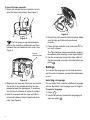
To connect the power adapter
1. Plug the power adapter into the power connector
on the top, left side of the labelmaker.
2. Plug the other end of the power adapter into a
power outlet.
Inserting the Tape Cassette
Your labelmaker comes with one DYMO D1 tape
cassette. Visit www.dymo.com for information
about purchasing additional tape cassettes.
3