1
PictBridge: Print Setting
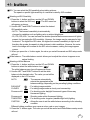
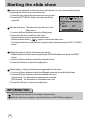
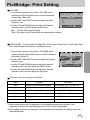
AUTO SET
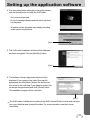
1. Connect the camera to your printer. The USB menu
must be set to [Printer] before you connect the camera
to the printer. (See p.83)
No
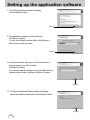
2. Use the LEFT and RIGHT buttons to select the [Auto
Set] menu tab.
Yes
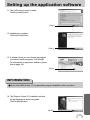
3. Use the UP and DOWN buttons to select the desired
submenu value, and then press the OK button.
[No] : [Custom Set] values are kept.
[Yes] : All values in the [Custom Set] are automatically changed.
Auto Set
Move :
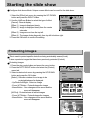
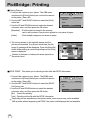
CUSTOM SET : You can select the Paper Size, Print Format, Paper Type, Print Quality, Date
Print, and File Name Print menus for printed pictures.
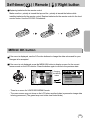
1. Connect the camera to your printer. The [USB] menu
must be set to [Printer] before you connect the camera to
the printer.(See p.83)
2. Use the LEFT and RIGHT buttons to select the [Custom
Set] menu tab.
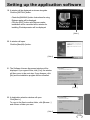
3. Use the UP and DOWN buttons to select the desired
submenu value, and then press the RIGHT button.
4. Use the UP and DOWN buttons to select the desired
submenu value, and then press the OK button.
Custom Set
Size
LayOut
Type
Auto
Postcard
4X6
Back:
Set : OK
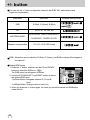
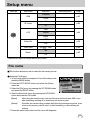
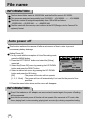
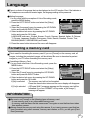
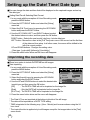
The menus you can set up are as follows:
Menu
Function
Sub menu
Size
Setting the size of the printing paper
Auto, Postcard, 4x6, 2L, A4, Letter, A3
Layout
Setting the number of pictures to be printed on a sheet of paper
Auto, Full, 1, 2, 4, 8, 9, 16
Type
Quality
Date
File Name
Setting the quality of the printing paper Auto, Plain, Photo, Fastphoto
Setting the quality of the picture to be printed
Auto, Draft, Normal, Fine
Setting whether to print the date
Auto, Off, On
Setting whether to print the file name
Auto, Off, On
Some menu options are not supported in all manufacturer and printer models. If not
supported, the menus are still displayed in the LCD, but are not selectable.
If the setting values are not changed in the automatic/manual setting, the setting values are
automatically kept.
85