1
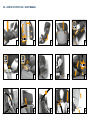
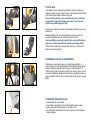
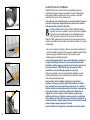
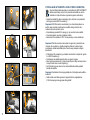
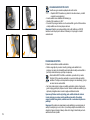
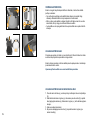
UNINSTALLING THE Solution X2-fix
Perform all installation steps in reverse order.
• Release the ISOFIX connectors (w) by simultaneously pulling and
slinging back the red release buttons (y).
• Pull the seat out of the installation aids (u).
• Rotate the X-fix connectors by 180°.
• Pull the X-fix lever located at the bottom of the child car seat and push the
X-fix connectors into the child seat until completely hidden.
Note! Following these steps the vehicle`s seat pad will be protected and the
Isofix connectors will be prevented from being stained or damaged. Damages
and stains could obstruct a smooth operation.
SECURING THE CHILD
Place the child seat on the respective seat in the car.
• Please make sure that the backrest (a) of the child safety seat rests flat
against the backrest of the car seat so that the child seat is under no
circumstances in a sleeping position.
• When using the ISOFIX-anchorages in the car, make sure that the
backrest of the Solution X2-fix is perfectly aligned and in full contact
with the rear vehicle seat. The position can be adjusted with the
adjustment lever (v) located on the bottom of the child car seat.
• Should the headrest of the vehicle seat interfere, please pull it out
completely and turn it around or take it off entirely. The backrest (a)
optimally adjusts to almost any inclination of the vehicle seat.
Warning! The backrest of the Solution X2-fix should rest flat against the
upright part of the car seat. Pushing the booster rearwards the seat should
be tightly pressed against the seat. For the best possible protection of
your child, the seat must be in a normal upright position!
Note! On some car seat covers made of sensitive material (e.g. velours, leather
etc.) the use of child seats may lead to traces of wear and tear. To avoid this,
you should put a blanket or a towel underneath the child seat.
14