1
Instruction Manual
CAP 232.
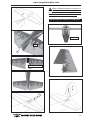
7) Repeat this process with the other wing
panel, securely hinging the aileron in place.
8) After both ailerons are securely hinged,
firmly grasp the wing panel and aileron to
make sure the hinges are securely glued and
cannot be pulled out. Do this by carefully
applying medium pressure, trying to separate
the aileron from the wing panel. Use caution
not to crush the wing structure.
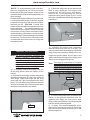
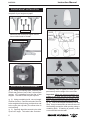
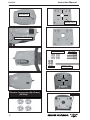
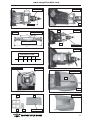
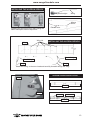
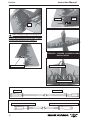
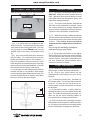
AILERON CONTROL HORN
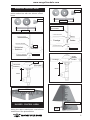
Aileron control horn installation: See pictures
below.
2 sets.
3x40mm.
CONTROL HORN
M3 SCREW.
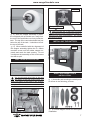
Note: Work the aileron up and down several
times to “work in” the hinges and check
for proper movement.
Epoxy.
ALUMINUM WASHER.
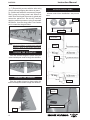
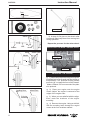
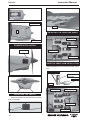
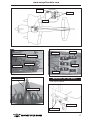
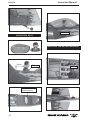
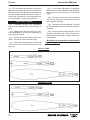
HINGING THE ELEVATOR.
Glue the elevator hinges in place using the
same techniques used to hinge the ailerons.
M3 LOCK
NUT.
ALUMINUM WASHER.
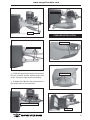
HINGING THE RUDDER.
18mm .
Epoxy.
Glue the rudder hinges in place using the
same techniques used to hinge the ailerons.
Wing
bottom.
Aileron control horn.
Hinge.
4