1
Creating a new project
Creating a new project
1
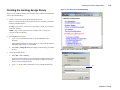
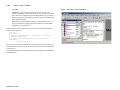
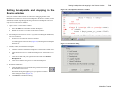
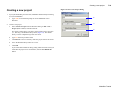
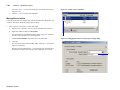
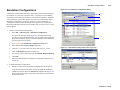
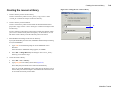
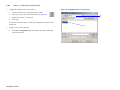
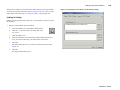
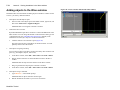
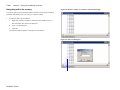
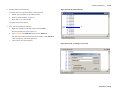
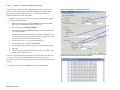
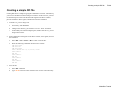
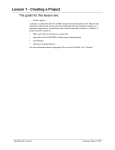
Figure 14: The Create Project dialog
If you just finished the previous lesson, ModelSim should already be running.
If not, start ModelSim.
a
2
T-35
Type vsim at a UNIX shell prompt or use the ModelSim icon in
Windows.
Create a new project.
a
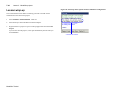
Select Create a Project from the Welcome dialog or File > New >
Project (Main window) from the menu bar.
2b
2c
2d
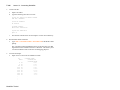
This opens a dialog where you enter a Project Name, Project Location
(i.e., directory), and Default Library Name (Figure 14). The default
library is where compiled design units will reside.
b
Type test in the Project Name field.
c
Click Browse to select a directory where the project file will be stored.
d
Leave the Default Library Name set to work.
e
Click OK.
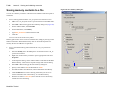
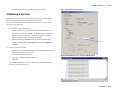
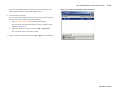
If you see the Select Initial Ini dialog, asking which modelsim.ini file you
would like the project to be created from, click the Use Default Ini
button.
ModelSim Tutorial