1
ModelMaker version 6.20
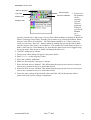
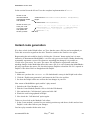
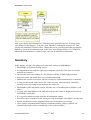
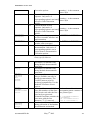
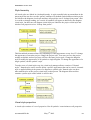
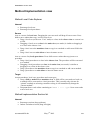
Generate unit
Add unit
Enable Auto
generation
Unlock code
generation
Unit Code Explorer
View Unit List
View Unit
Code Editor
Unit Code Editor
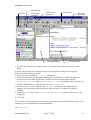
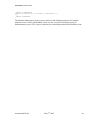
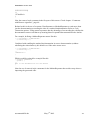
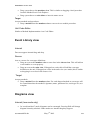
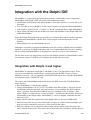
1. To make the Unit list view visible, select ‘View|Units’. Repeat this for the Unit Code
editor.
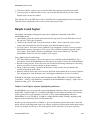
2. In the Unit list click the ‘Add unit’ button, a unit properties dialog will now appear.
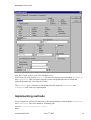
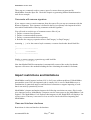
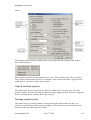
In the Unit editor dialog you define:
1. Leave the source path alias <no alias> unchanged.
2. The source file name (the full path including drive and folders), to define the path you
could use an source alias, but for now just click the browse button and locate the
\ModelMaker\6.0\TEST folder (or ModelMaker\6.0\Test depending on the base path you
installed ModelMaker in) and enter the file name IntLabel.PAS.
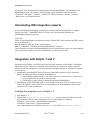
3. On the tab sheet ‘Classes’ add the class TIntLabel to the list on the right either by
dragging or by selecting it and clicking the ‘Add selected’() button or by doubleclicking.
4. Change the ‘VCL page’ from <unregistered> to ‘MM Demo’ by entering this name in the
string grid.
5. Click OK.
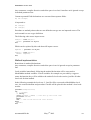
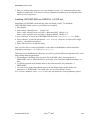
We’ll see the newly created unit now listed in the unit list on the left. In this editor unit’s code
containing a text which should look something like:
unit <!UnitName!>;
usermanual620.doc
May 7th 2002
19