1
Creating Files of Cash Index and Indicator Data
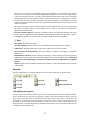
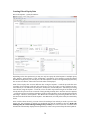
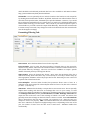
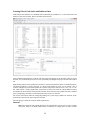
Cash Indices and Indicators are handled almost identically by TickWrite 7, so the instructions and
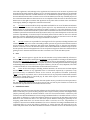
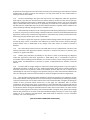
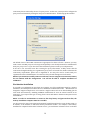
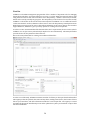
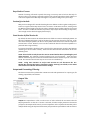
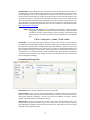
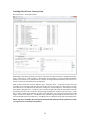
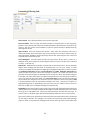
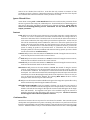
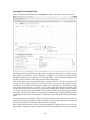
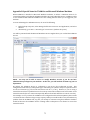
details are the same for both. Here is the Indices Job window:
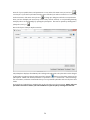
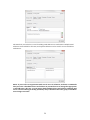
Your available Index/Indicator symbols and date ranges will appear in the data list at the top of the
window. You can manually select one or more symbols by checking the box(es) to the left of the symbol
list.
Right-click anywhere in the symbol list to activate a context menu with the option to check all symbols,
un-check all symbols, or invert selection. To check many symbols at once, you can import a list of
symbols. Simply list your desired symbols in a text file, one per line, and save it as a ‘.txt’, ‘.csv’, or ‘.asc’
file. Click Actions -> Import Symbol List, and browse to select your saved file. When OPEN is clicked,
the symbols in the file will be checked in the data list. Please note that any symbols that were checked
prior to importing a list will be unchecked (unless they are also on the list).
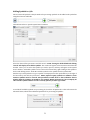
The screen will activate different settings depending on: 1) how many symbols are selected; 2) the
Granularity selected, and; 3) the Output To selected.
The following are details for each Job window parameter:
Interval
Tick: The output file will contain all ticks for the selected time period. Since a ‘tick’ is a single
data point, there is no OPEN, HIGH, LOW, or CLOSE; just a single price at which a trade
62