1
68
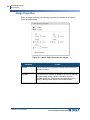
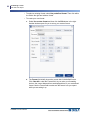
Formatting a Label
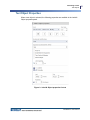
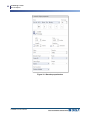
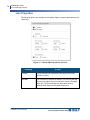
Barcode Objects
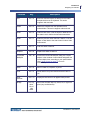
Property
To Use
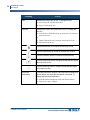
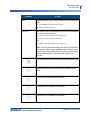
Locked
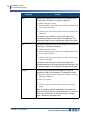
Select this check box to prevent the barcode object from
being moved or resized.
Printable
This check box is selected by default. If you do not want the
barcode object to print on the label, clear the Printable check
box. This prevents the barcode from printing, although other
objects on the label still print.
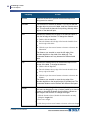
Left
Indicates the distance the left edge of the barcode object is
from the left edge of the label. To change the distance:
1. Double-click the Left field.
2. Enter the distance the left edge of the barcode should be from
the left edge of the label.
or
3. Click the up or down arrow buttons to increase or decrease the
indentation.
The distance you are able to move the left edge of the
barcode depends on the width of the label part. The
incremental distance will vary between the different label
parts.
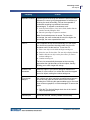
Top
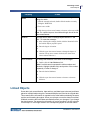
Indicates the distance the top of the barcode object is from
the top of the label. To change the distance:
1. Double-click the Top field.
2. Enter the distance the top edge of the barcode should be from
the top edge of the label.
or
3. Click the up or down arrow buttons to increase or decrease the
distance.
The distance you are able to move the top edge of the
barcode depends on the length (height) of the label part. The
incremental distance varies between the different label parts.
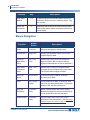
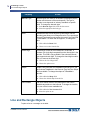
Length
LabelMark 6.0 User’s Manual
Indicates the vertical length of the barcode, from top to bottom. It
is the same as dragging the top or bottom handle up or down to
increase or decrease the length. Use this field to indicate an
exact length of the barcode. To change the length:
1. With the barcode selected, double-click the number currently
filling the Length field.
2. Enter a new length.
or
3. Click the up or down arrow buttons to increase or decrease length.













![LM 4.0_QuickStart_EURO [7] Languages.fm](http://vs1.manualzilla.com/store/data/006170771_1-f471c6a60f770fa9f17213cbf88d66dd-150x150.png)