1
SETUP APRS
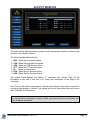
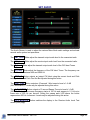
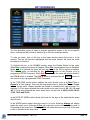
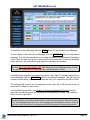
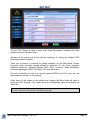
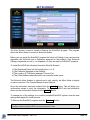
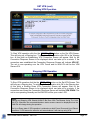
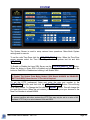
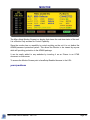
SET IRLP Screen - APRS Section
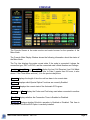
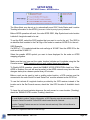
The Micro-Node may be set up to automatically send IRLP Node Status and Location
Tracking information to the APRS† (Automatic Packet Reporting System) network.
Before APRS operation will work, the units APRS SSID, Map Symbol and node location
Latitude & Longitude need to be set.
To set the SSID, select the SSID number that you want to use for the unit. The SSID is
an identifier that is added to the Call Sign of the node to create an APRS ID for the unit.
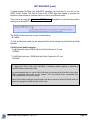
SSID Example:
If a SSID of ‘–13’ is selected and the node call sign is ‘K1ABC’ then the APRS ID for the
node would be ‘K1ABC-13’
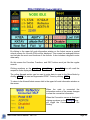
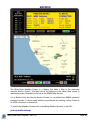
Select the graphic APRS symbol you want to have displayed for the node on APRS
mapping programs.
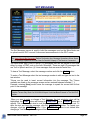
Make sure that you have set the nodes location Latitude and Longitude using the Set
Console screen. APRS operation will not work unless these have been set.
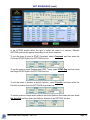
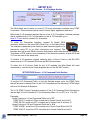
To Enable APRS operation, check the ENABLE APRS OPERATION check box. When
APRS is Enabled, the unit will send a packet to the APRS network every time the node
changes status plus a beacon packet every 60 minutes.
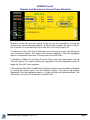
Before a unit can be used to track a mobile nodes location, a GPS receiver must be
connected to the units Serial Port and ‘Serial Port’ must be selected as the GPS Port.
To use the Latitude & Longitude location provided by the GPS receiver instead of the
location set in the Set Console screen, check the ‘Use GPS Location If Available’ check
box.
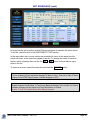
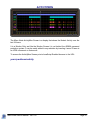
To have the unit send packets whenever the unit moves to a new location (Tracking),
check the ‘ENABLE GPS Location Tracking’ check box.
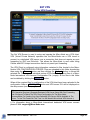
Notes:
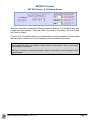
To send Mobile Location Tracking information, a GPS Receiver must be connected, the GPS
Port set to Serial Port and All Three APRS check boxes Must Be Checked.
Location Tracking Packets are sent at 1-minute intervals and only if the unit has Moved a
Minimum of 500 ft.
†APRS ® is a registered trademark of Bob Bruninga.
Micro-Node User's Manual - Ver 1.62
Page 35