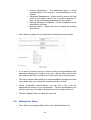
1
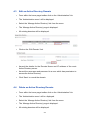
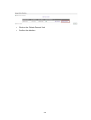
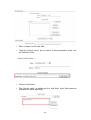
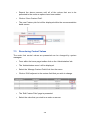
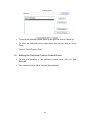
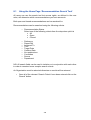
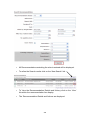
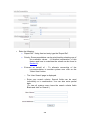
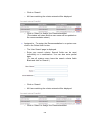
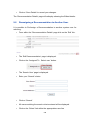
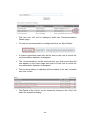
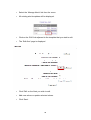
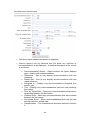
o Click on ‘Search’. o All Users matching the criteria entered will be displayed. o Click on ‘Select’ to ‘Assign’ the ‘Recommendation’ (The window will close and the user name will be updated on the recommendation sheet.) § Assigned to - To assign the Recommendation to a system user click on the ‘Select User’ button. o The ‘User Search’ page is displayed. o Enter your search criteria. Search fields can be used individually or in combination. You can also enter partial data. (To view all system users leave the search criteria fields Blank and click on ‘Search’.) o Click on ‘Search’. o All Users matching the criteria entered will be displayed. o Click on ‘Select’ to ‘Assign’ the ‘Recommendation’ 50