1
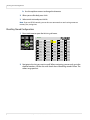
Configuring On/Off Settings Options
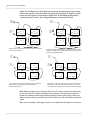
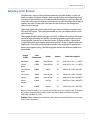
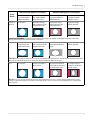
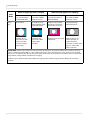
respectively. By specifying the correct source detection mode, the display can
correctly interpret the signal and display the incoming image in the proper aspect
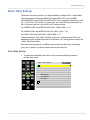
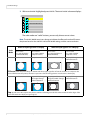
ratio. The default preferred source detection is 16 x 9 for the c50HD-LED3 and c70HDLED or 4 x 3 for the c50RP-LED3/c50RX-LED3 and c67RP-LED3/c67RX-LED3. These are
the native aspect ratios of these displays. If you are attempting to display a 16 x 9
signal on a c50RP-LED3/c50RX-LED3 or c67RP-LED3/c67RX-LED3 and it is not
working, try changing the preferred source detection to 16 x 9.
Allow Frame Lock
Frame lock causes the display to synchronize its vertical refresh timing with that of
the incoming source. This prevents frame tearing or frame dropping. To frame lock,
the incoming signal must be within the refresh parameters of the display itself, which
is from 49.8 Hz to 60.1 Hz.
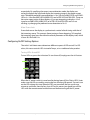
Configuring On/Off Settings Options
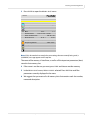
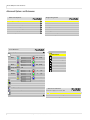
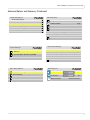
The ON/OFF SETTINGS menu determines different aspects of LED control. For LED
cubes, this menu controls LEDs instead of lamps, as in a traditional cube product.
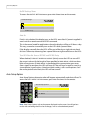
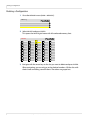
Turning LEDs On and Off
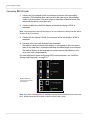
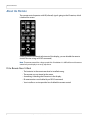
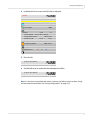
To turn LEDs on, press the ON button. To turn them off, simply press the OFF button.
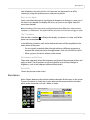
When the AC power switch is turned on after having been off, the Clarity LED 3 Series
makes sure the LEDs are cool by running the fans for about 30 seconds. You can’t turn
on the LEDs during this time. When the LEDs are turned off, the fans run for one
minute to cool them, then the fans shut off. For this reason you should turn off the
LEDs with the remote control and let them cool before turning off the AC power.
Clarity LED 3 Series Installation Guide
127